Provision AWS Elastic Container Registry Repository using Terraform
Automation is very crucial in development which eliminates/reduces human error during manual provisioning...

Automation is very crucial in development which eliminates/reduces human error during manual provisioning. Automation enables teams to focus on work that adds value to the business which in turn increases revenue. In this article, I will walk you through how to set up AWS elastic container registry repository using terraform.
Terms and Technologies Terraform: Terraform is an open-source iac (infrastructure as code) tool that is used to provision, change and improve infrastructure in any environment. To read more on terraform, visit here.
Terraform backend config: The terraform backend defines where terraform stores its state data files.
Terraform provider: In terraform, infrastructures are provisioned across public cloud providers such as amazon web services, google cloud, azure, etc. The provider block is used to state the cloud provider you want to use and in this tutorial, we will be making use of the amazon web service.
Prerequisite:
Download and install AWS CLI so you can interact with AWS services from your command line interface
Configure your AWS credentials via your cli using AWS configure command. To do that, you need to create a user using IAM on AWS.
Download and install terraform
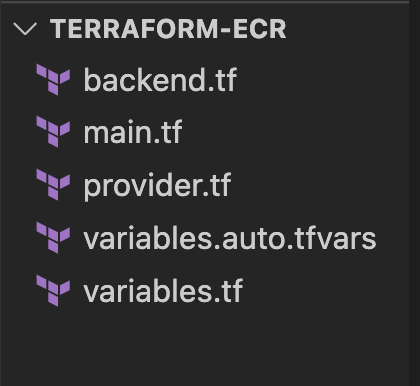
Project Structure
Terraform-ecr
- Backend.tf
- Main.tf
- Provider.tf
- Variable.auto.tfvars
- Variables.tf
Project Configuration The first thing we will be doing is to create an s3 bucket that will hold the state files. Then, add the terraform configuration block that stores state data files for this project inside the s3 bucket created.

Open up your backend.tf file and add the following line of code
terraform {
 backend "s3" {
   bucket = "myawspracticebucket12"
   key = "~/.aws/config"
   region = "us-east-1"
 }
}
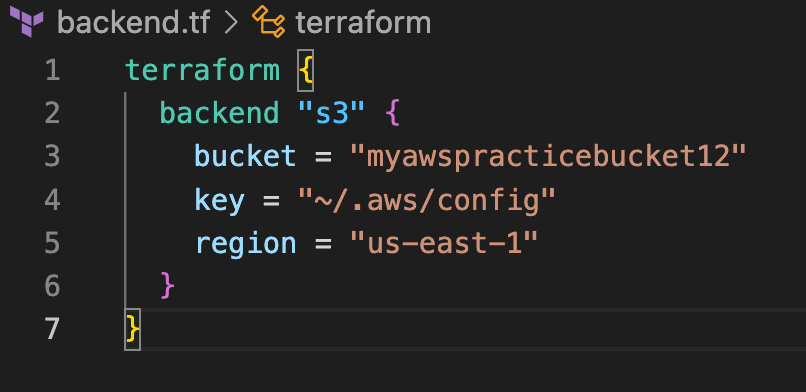
Line 1: This is the terraform block needed to create our backend config
Line 2: describes the backend block which contains the information about where the backend will be stored
Line 3: The name of the bucket we created
Line 4: The path to your credential file. This is available when you do aws configure. You can also decide to use a different credential. All you need to do is to specify the path.
Line 5: Region of the s3 bucket
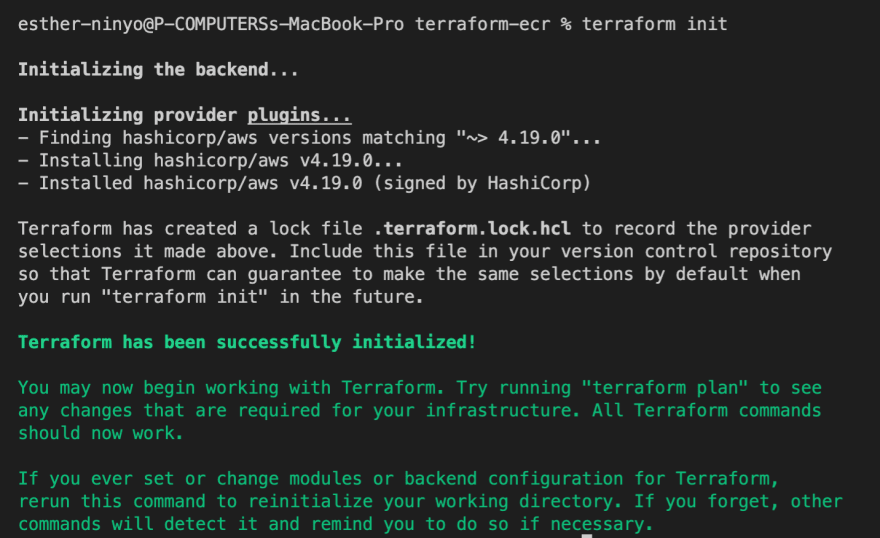
Before we move on, let’s initialize the backend using the terminal to see if we’ve not made any mistakes by using this command:
Terraform init
This will be the output if everything is done correctly
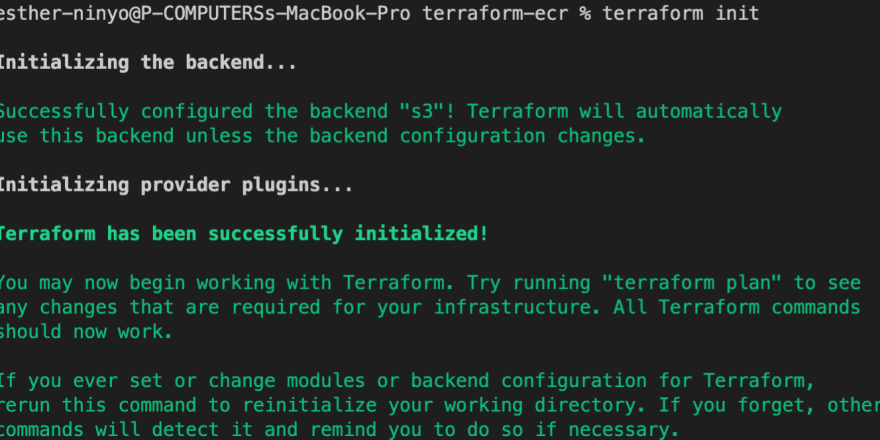
If you do not have that, crosscheck the path to your credential file and also your bucket name if they are correct.
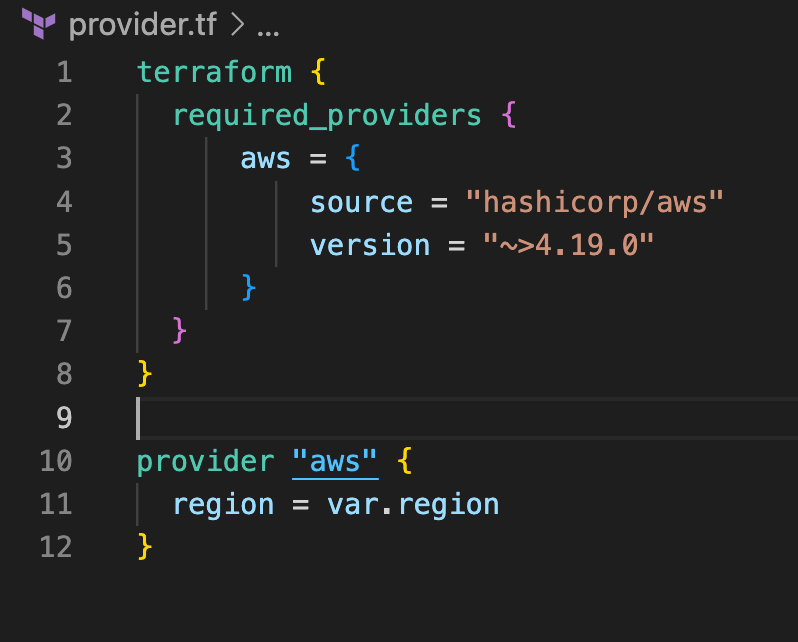
Step 2: In this step, I add the terraform provider which is “hashicorp/aws” with its version, I also added the AWS region declared in the variable.tf.
Open up your provider.tf file and add the following lines of code:
terraform {
 required_providers {
     aws = {
         source = "hashicorp/aws"
         version = "~>4.19.0"
     }
 }
}

provider "aws" {
 region = var.region
}
Step 3: In this step, I added the resource block that creates the elastic container registry (ecr) on AWS.
Open up your main.tf file and add the following lines of code:
resource "aws_ecr_repository" "ecr_repo" {
 name                 = var.ecr
 image_tag_mutability = "IMMUTABLE"

 image_scanning_configuration {
   scan_on_push = true
 }
}

Line 1: This is the resource block that holds information used in creating the elastic container registry
Line 2: The name of the repository stored in the variable file
Line 3: This prevents image tags from being overwritten
Line 6: This scans images for vulnerabilities
Step 3: In this step, I will declare the variables used in the previous files such as the region and repository name.
Open up your variables.tf file and add the following code:
variable "region" {
 description = "AWS region"
 type = string
}

variable "ecr" {
 description = "Repository name"
 type = string
}
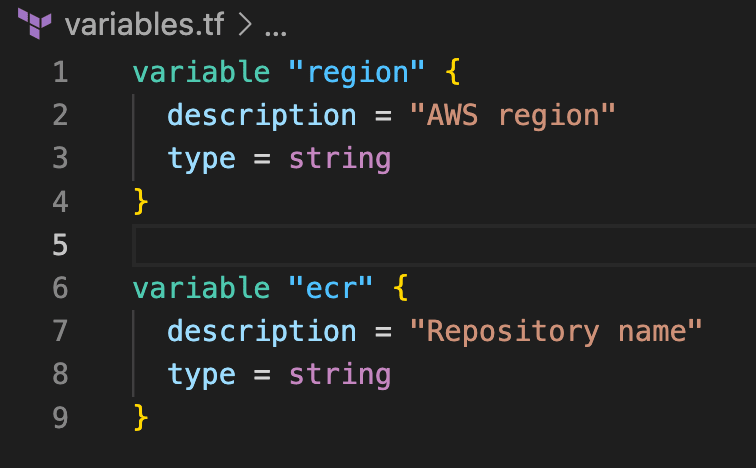
You will notice that we do not have any default value in the variables.tf file, the values will be stored in the variables.auto.tfvars file.
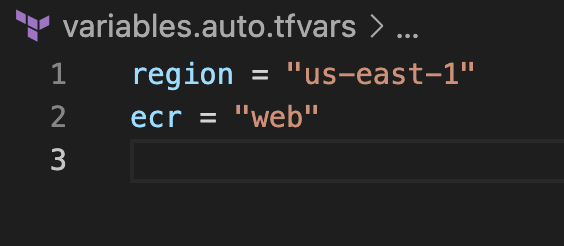
Open up your variables.auto.tfvars file and add the following code:
region = "us-east-1"
ecr = "web"
Step 4: In this step, I will use terraform command to spin up our infrastructure
Terraform init
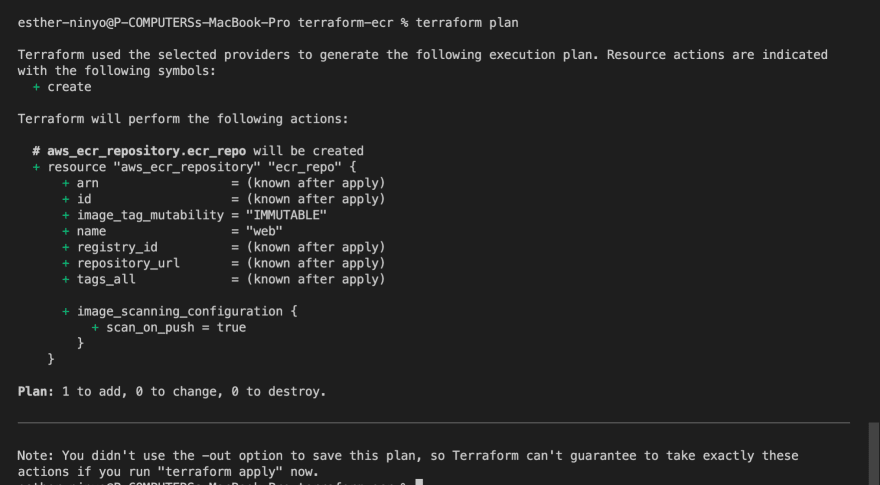
Terraform plan
Terraform plan is used to see the resources we’re creating
Terraform apply
Terraform apply is used to spin up the resource
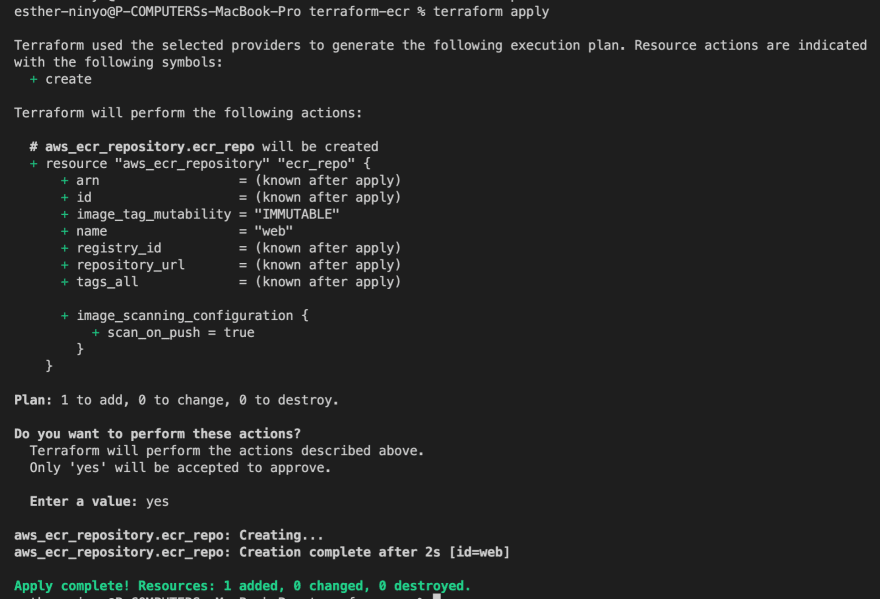
Let’s head over to the console to see what we created

You have successfully created an elastic container registry repository and you can safely publish your container images to it.
Thank you for reading to the end. Kindly reach out to me in the comment section if you have any questions or on LinkedIn and Twitter on ways to improve or to say hi.
Till next time, cheers.


