How to Dockerize an Existing Node.js Application and Build a Jenkins Pipeline Using AWS EC2 Instance

Hi there,
What we will be practicing today is how to dockerize an already existing Node.js application and how to handle the multibranch automation process using Jenkins. Note that we will be making use of the AWS EC2 instance.
Explanation of Terms
Before we continue, there’s a need to define some terms that we will be using to have the basic knowledge of what we’re doing.
Docker
Dockerfile
Node
Jenkins
Docker: This is a platform that is used to build, test and deploy applications in a container without depending on the OS of the host (which is the OS of your PC).
Dockerfile: These are set of instructions written in a file to build an application.
Node: This is a javascript runtime that enables the running of javascript on the server
Jenkins: This is an automation server that is used to build, deploy and automate any project using different plugins.
Explanation of Project
The first thing we need to do is to look for an already existing Node.js project on Git (you can go ahead to build one if you can). For this article, I will be making use of a repository by Kriscfoster.
Step One: The first thing you need to do is to create an aws account, create an instance on AWS and SSH into the instance.
To create an instance with aws
Step Two: Fork the repository and clone it to your AWS EC2 instance. Note that you must have Git installed on your AWS EC2 instance before you can make use of the Git command. After cloning the project, type “ls” on the terminal to see the available files and folders and you will see the project you just cloned there too.
https://github.com/ninyhorlah/end-to-end-testing-todo-app.git
Step Three: Change your working directory to the project you just cloned and run npm install
cd end-to-end-testing-todo-app/
Step Four: The next step is to create a Dockerfile that will take in the instruction to dockerize your node application. On your terminal, type touch Dockerfile and click enter
touch Dockerfile
Step Five: Open your Dockerfile using vi Dockerfile and hit enter.
vi Dockerfile
Step Six: To make the file editable, press Esc followed by i and we can then type in our instructions. Type the instructions below into your Dockerfile and once you’re done, press Esc followed by :wq! to save and close the file.
FROM node

WORKDIR usr/src/app

COPY package.json .

RUN npm install

COPY . .

EXPOSE 5000

CMD "node" "server.js"
Explanation of the Command Inside the Dockerfile
Line 1: This simply means were pulling a node image.
Line 2: This shows that we set a working directory for our application.
Line 3: This means that we’re copying package.json into the working directory.
Line 4: We're running npm install once we’ve copied the package.json
Line 5: This means that we copied everything inside our folder.
Line 6: We expose the port in which the application will run when we search it on the browser.
Line 7: This simply shows the command that is required to run the application.
Step Seven: The next thing to do is to build the Dockerfile and tag it to a name that we can use to access it later. Before we can do that, make sure you have Docker installed on your server.
To install it, follow this tutorial provided in the AWS amazon doc
Once you have docker installed, you can build your docker image using:
sudo docker build -t todo-docker
Step Eight: Once the build is successful, you can then push your code on GitHub. For best practice, it is good to switch to your working branch before doing anything at all. So because we forgot to do it earlier, we will push this code on GitHub and then create a dev branch that we will continue our work on
git checkout -b branch
Step Nine: The next thing to do is to run our dockerized application but before it can run on the browser, we need to create a security group for the port. To do that,
- Select your server or instance name

- Under security, click on the security group link
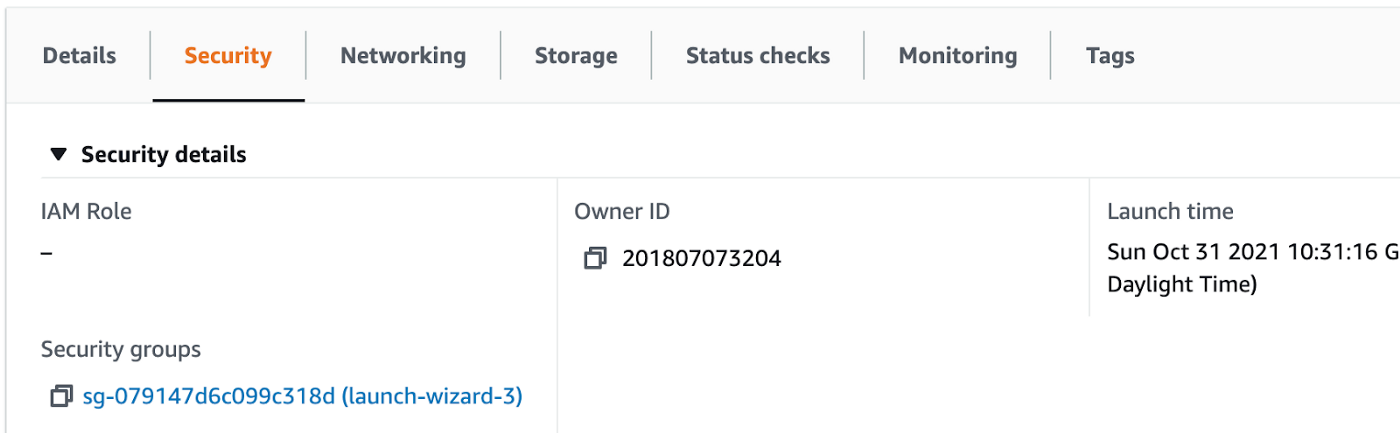
- Click on edit inbound rules

- Click on save rules

Add the port number and save rules. After that, you can access it on your browser

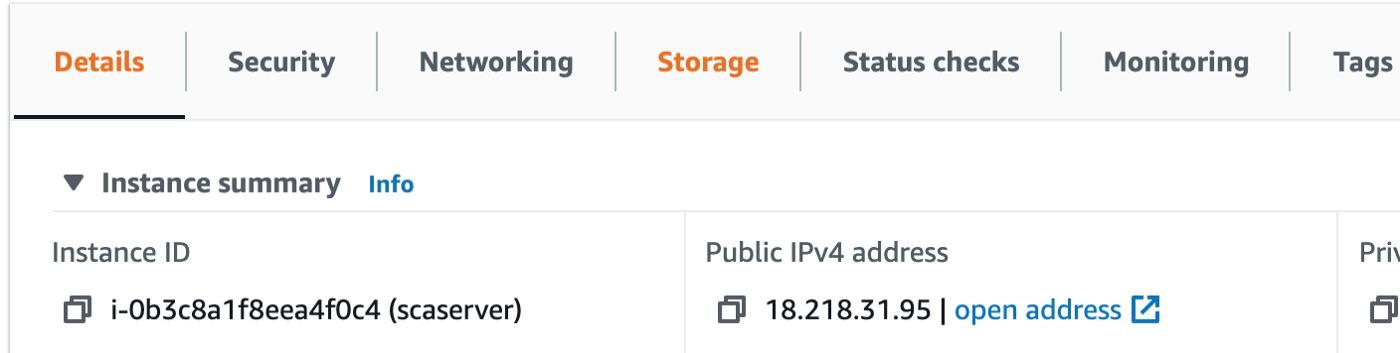
To access your app on the browser, you can use either the public IPv4 address provided in your instance mapped with your port number or the address you used to SSH into your instance (the one after the @) mapped with your port number
or

This is what your app will look like on the browser if you do follow all the steps
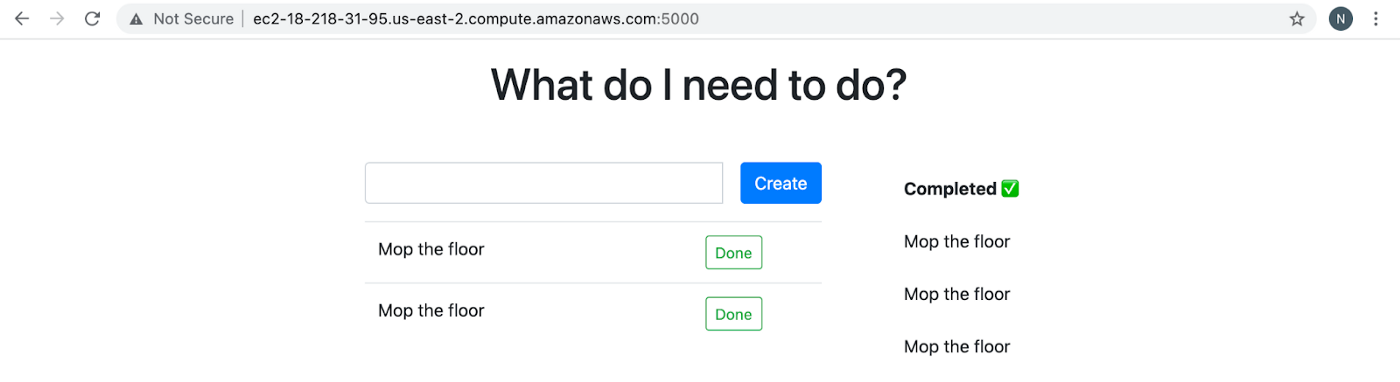
Congratulations!!! You have just finished the first phase of the project and it’s now running on your browser. The next step now is to handle the automation process with Jenkins.
Are you ready? Let’s Go.
Automating Our Application Using Jenkins
If you’re still here, I’m super proud of you for making it this far with the zeal to learn more. Before you can get your Jenkins running, you must have Java installed on whatever you want to run it on. For this article, we’ve been making use of the AWS EC2 instance and that is what we will continue with.
To know if you have java installed already, kindly check the version to be sure by doing the java -version If Java is installed, you will see the version as shown in the image below:
java -version

This simply shows that version 11 is installed but if you get a message saying java command not found, it means you’ve not installed java and that is the first thing you need to do.

To install java, Kindly follow this article by Rahul to get your Java installed. Once you’re done with that, you can continue with the steps to get Jenkins running.
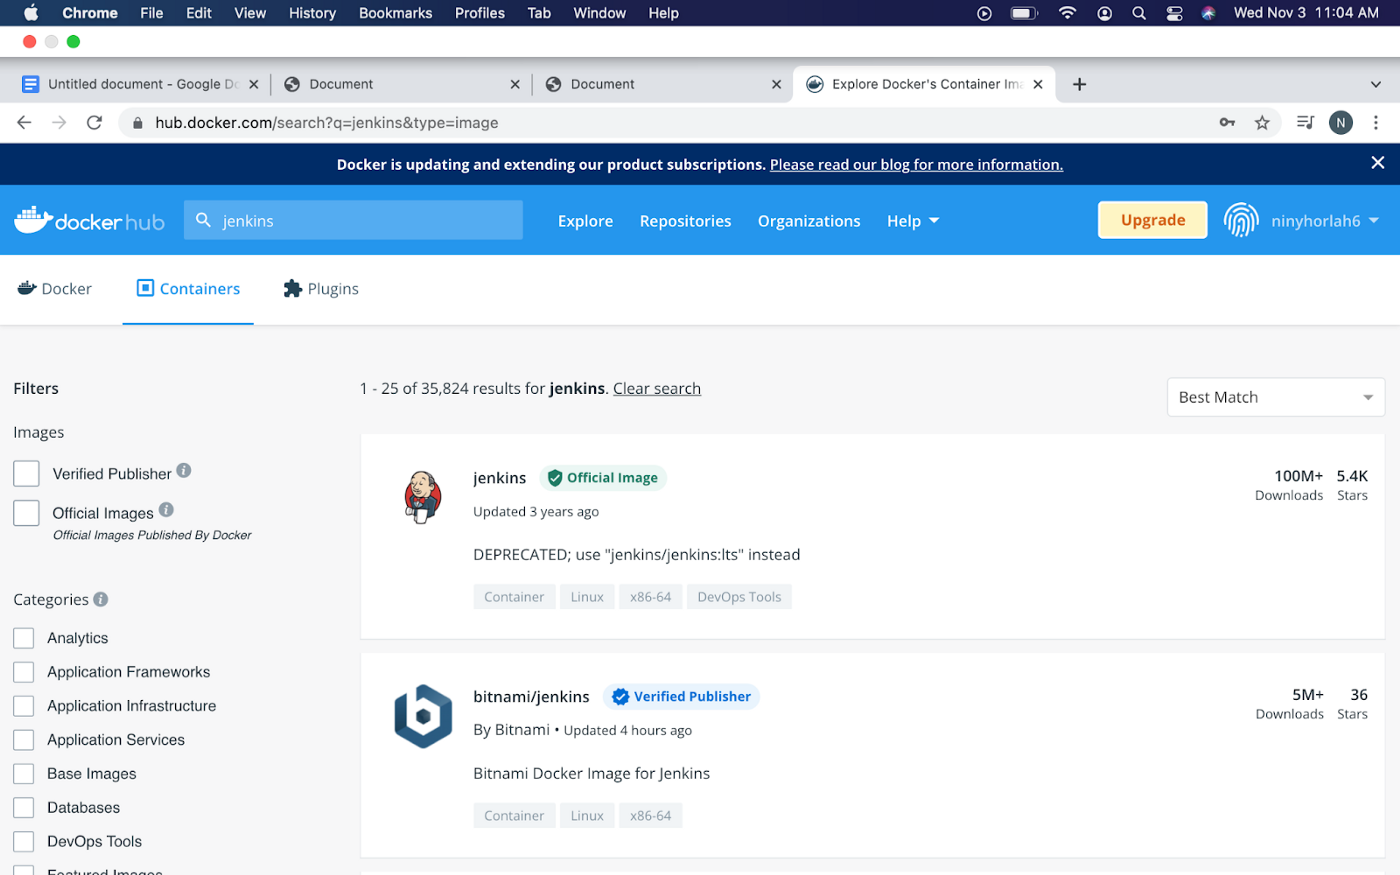
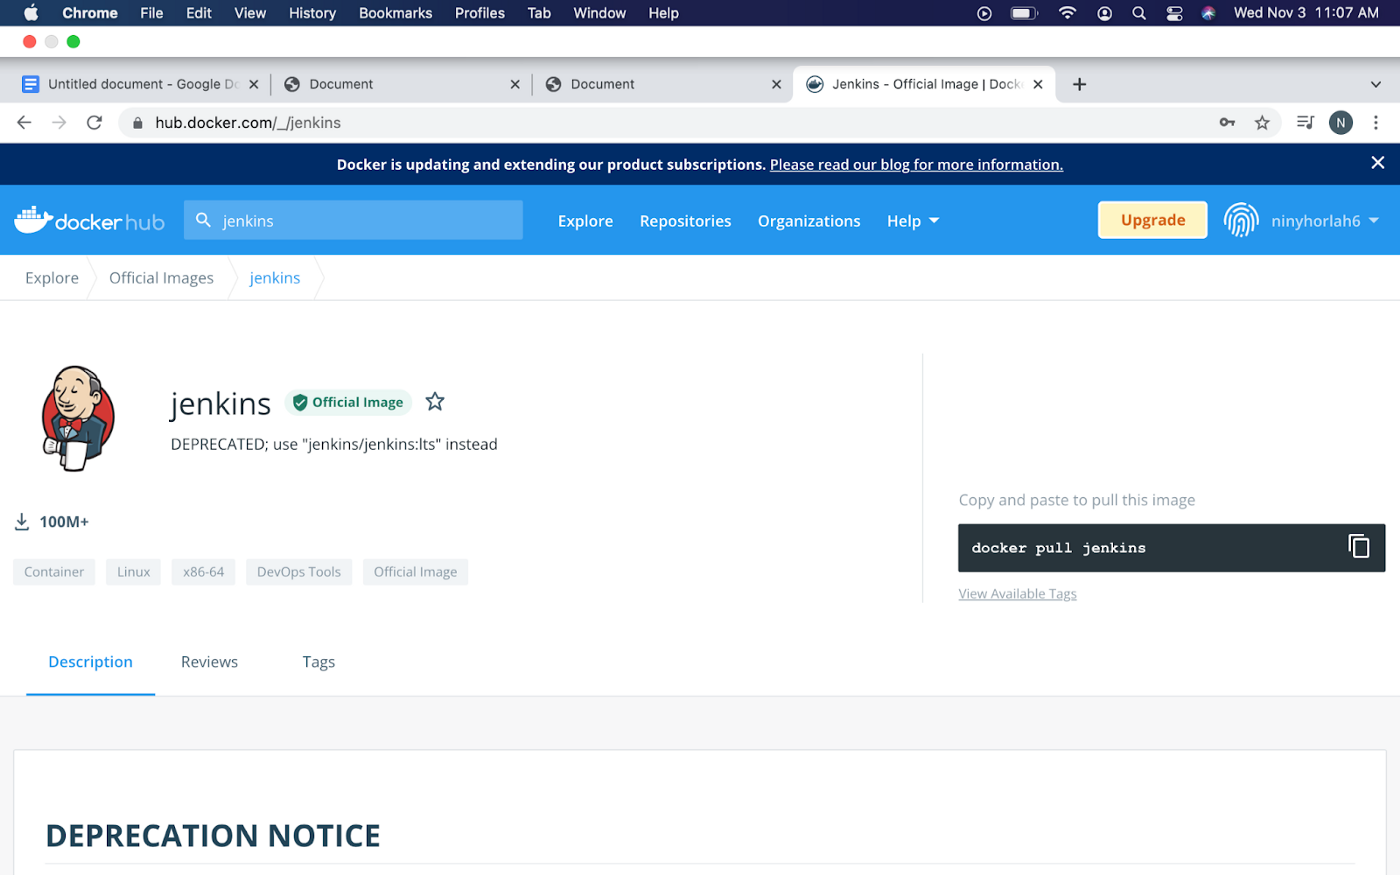
We will be making use of the official image of Jenkins on the Docker hub and running it in a container.
This is what you will see when you click on the Jenkins Official image with instructions on how to run it. Make sure you read the documentation well
Note: the container name to use is jenkins/jenkins as just jenkins will not work.
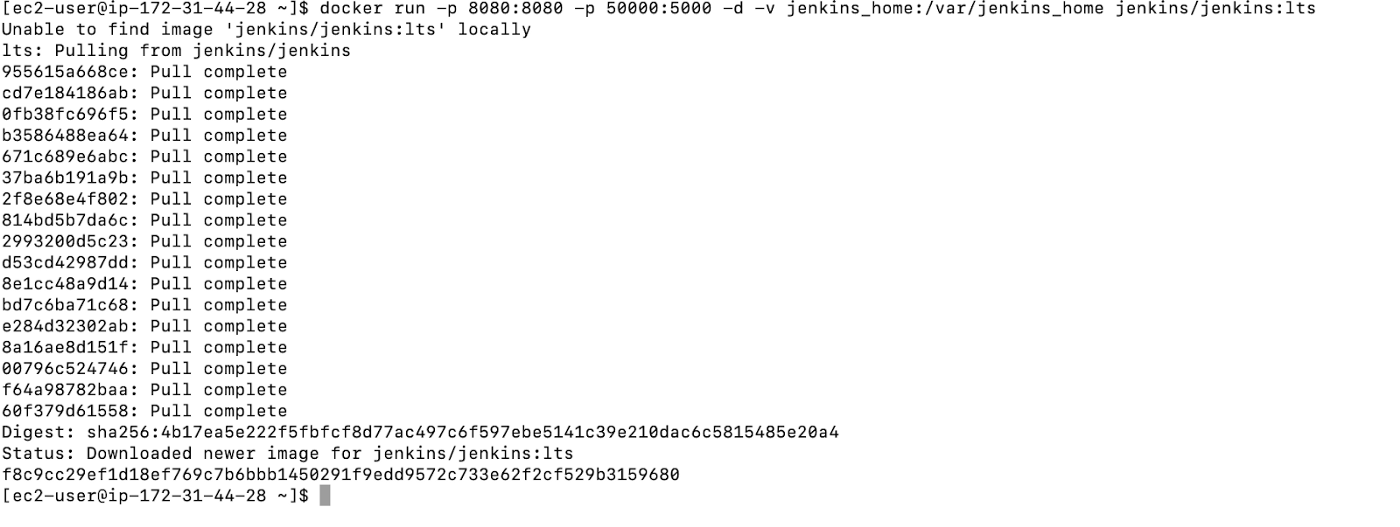
Step One: On your terminal, write the following as seen in below:
docker run -p 8080:8080 -p 50000:5000 -d -v jenkins_home:/var/jenkins_home jenkins/jenkins:lts
This is what you will see when you’re able to pull Jenkins successfully:
To see if your Jenkins is running, type docker ps in your terminal as seen below:
docker ps

You can see that you have two images running, Jenkins and your todo application.
Step Two: Now that Jenkins is running, the next step is to open it on your browser and then set it up. Before you can access it on the browser, we need to add a security group for port 8080 just like we did earlier for port 5000 of our todo app. If you don’t know how to do it, please scroll up to see how it was done.
To view it on your browser, use the public IPv4 address of your AWS instance or the address you used to SSH into your instance. Scroll up for example.
If you’re able to pull Jenkins successfully, the result on your browser should look like the image below:
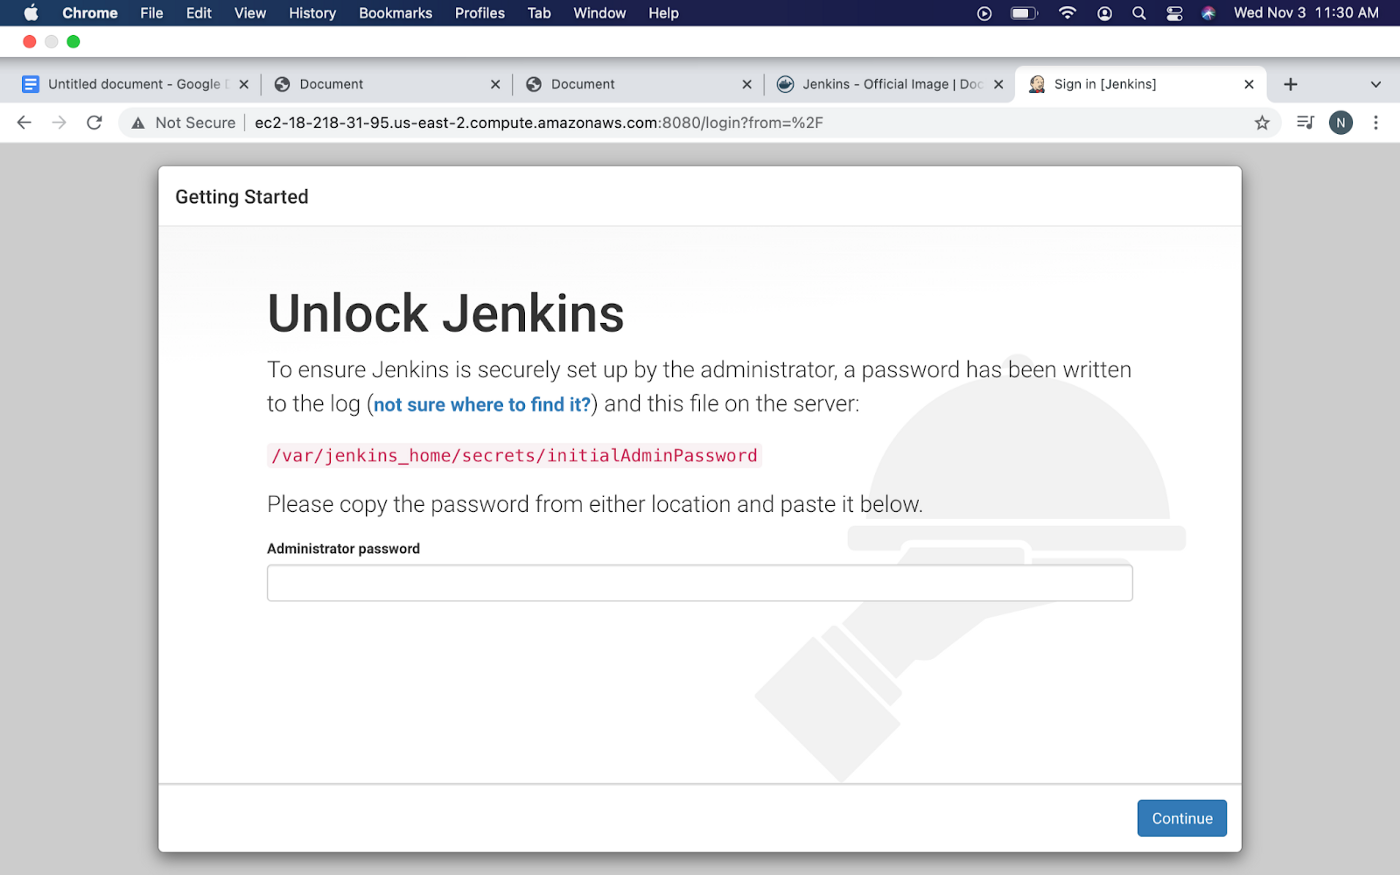
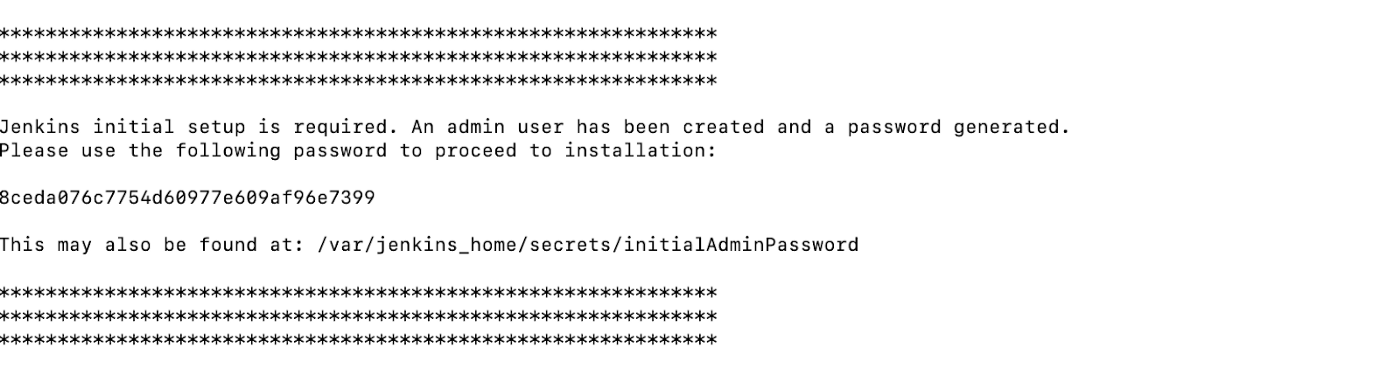
Step Three: The next step is to get the secret key that will enable you to set up your Jenkins account. To get the key, simply type docker logs container_id
docker logs f8c9cc29ef1d
then scroll to where the key is written. See the image below for reference:
Copy the key and paste it to where Administrator Password is required then click continue. If you’re able to get it right, the result will be the same as what we have in the image below:
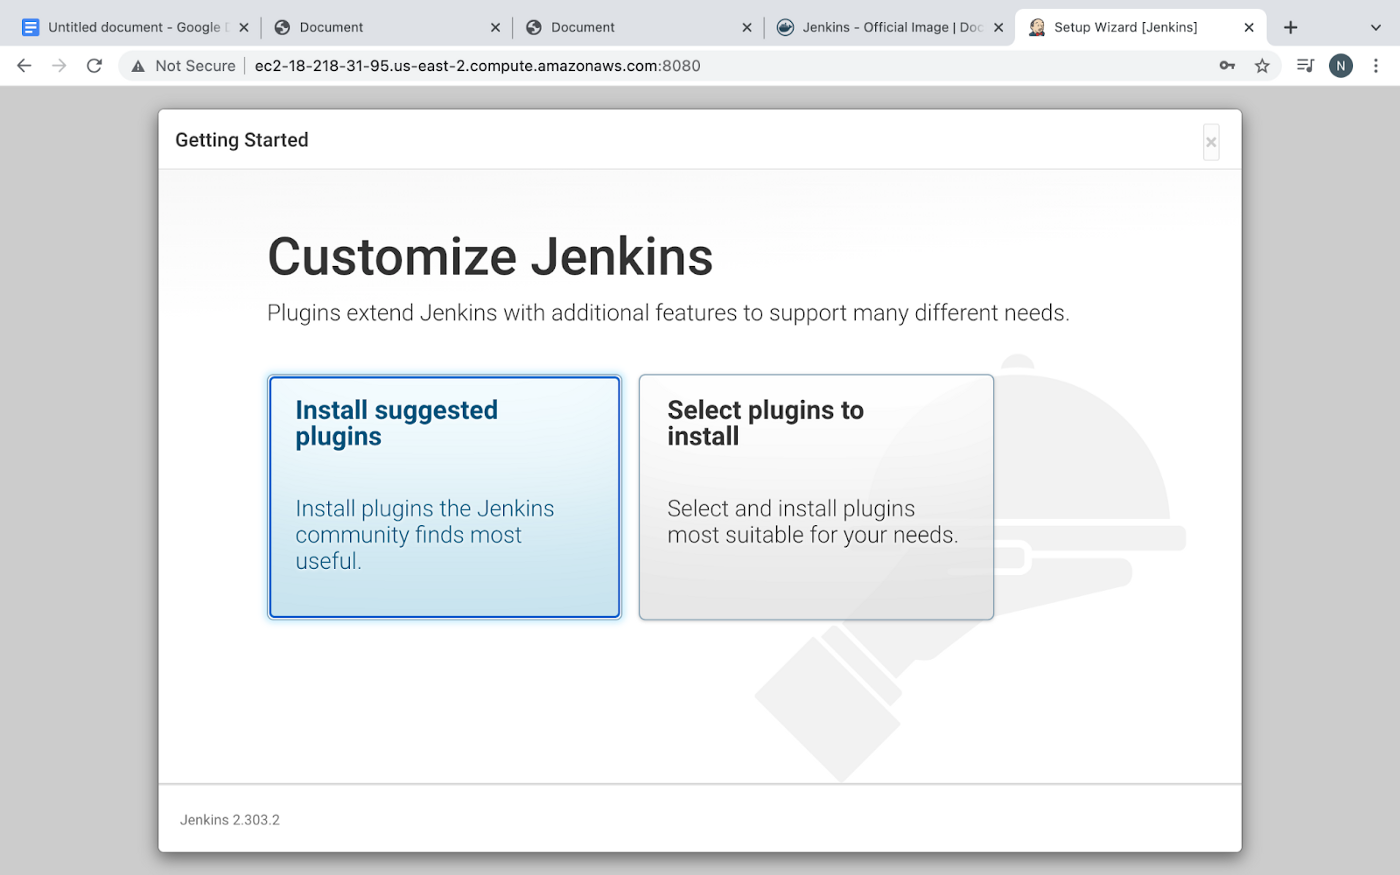
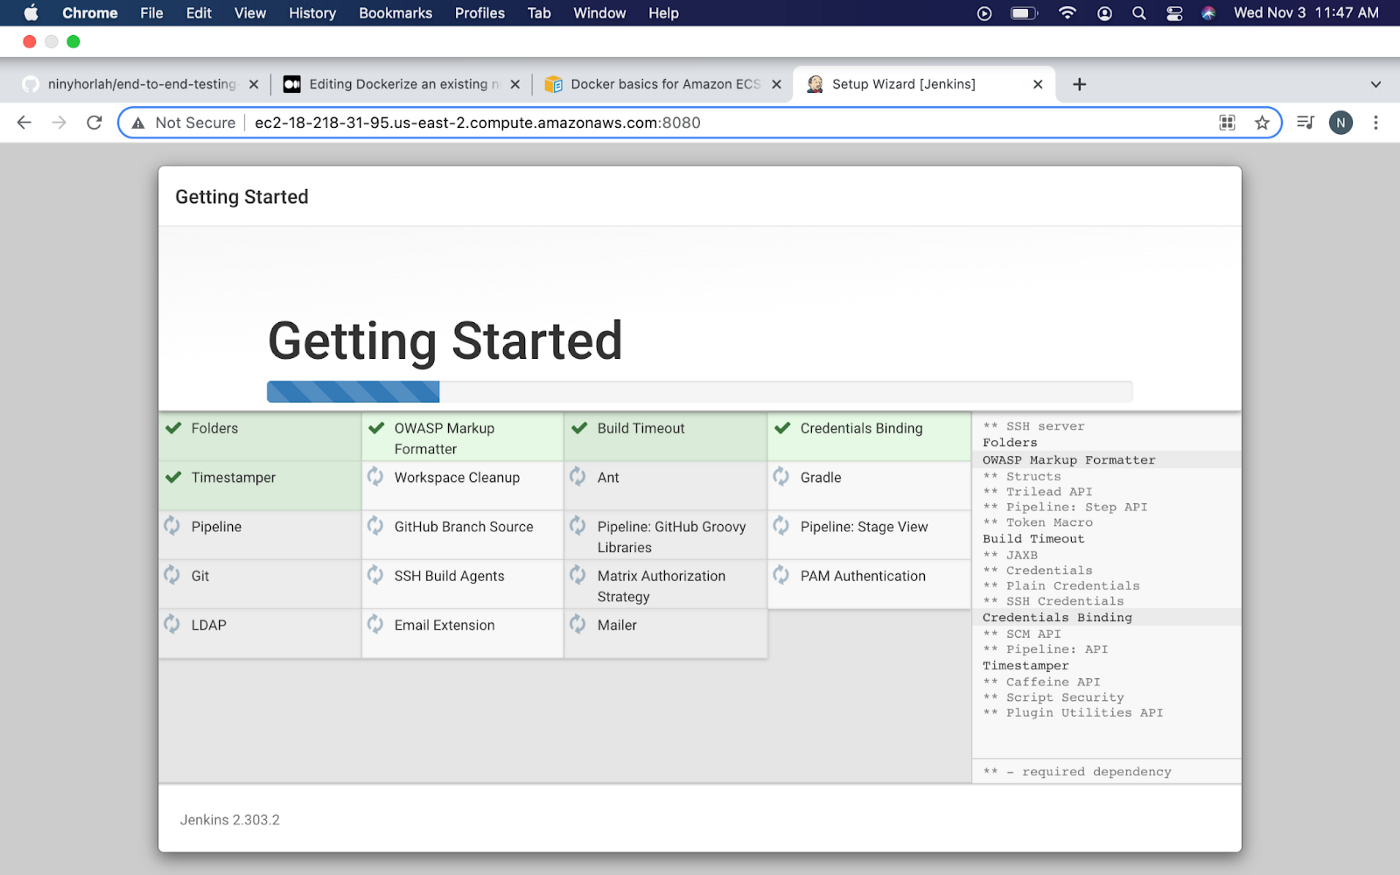
Step Four: Click on Initial suggested plugins so that necessary plugins will be installed and this is what you will see:
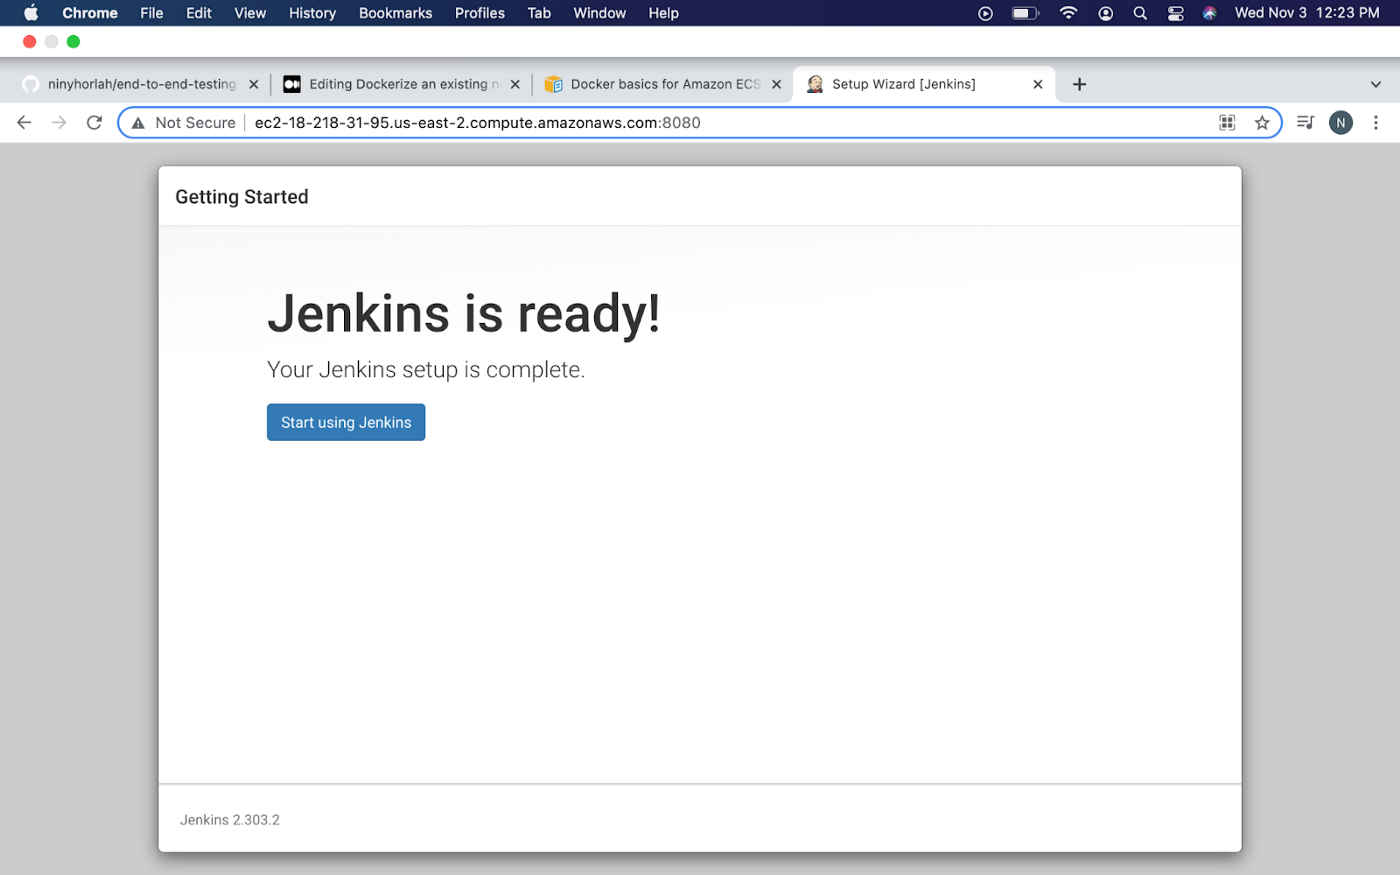
Once the installation is done, a getting started page will come up that will require you to set a username, password, full name and email address as seen in the image below:

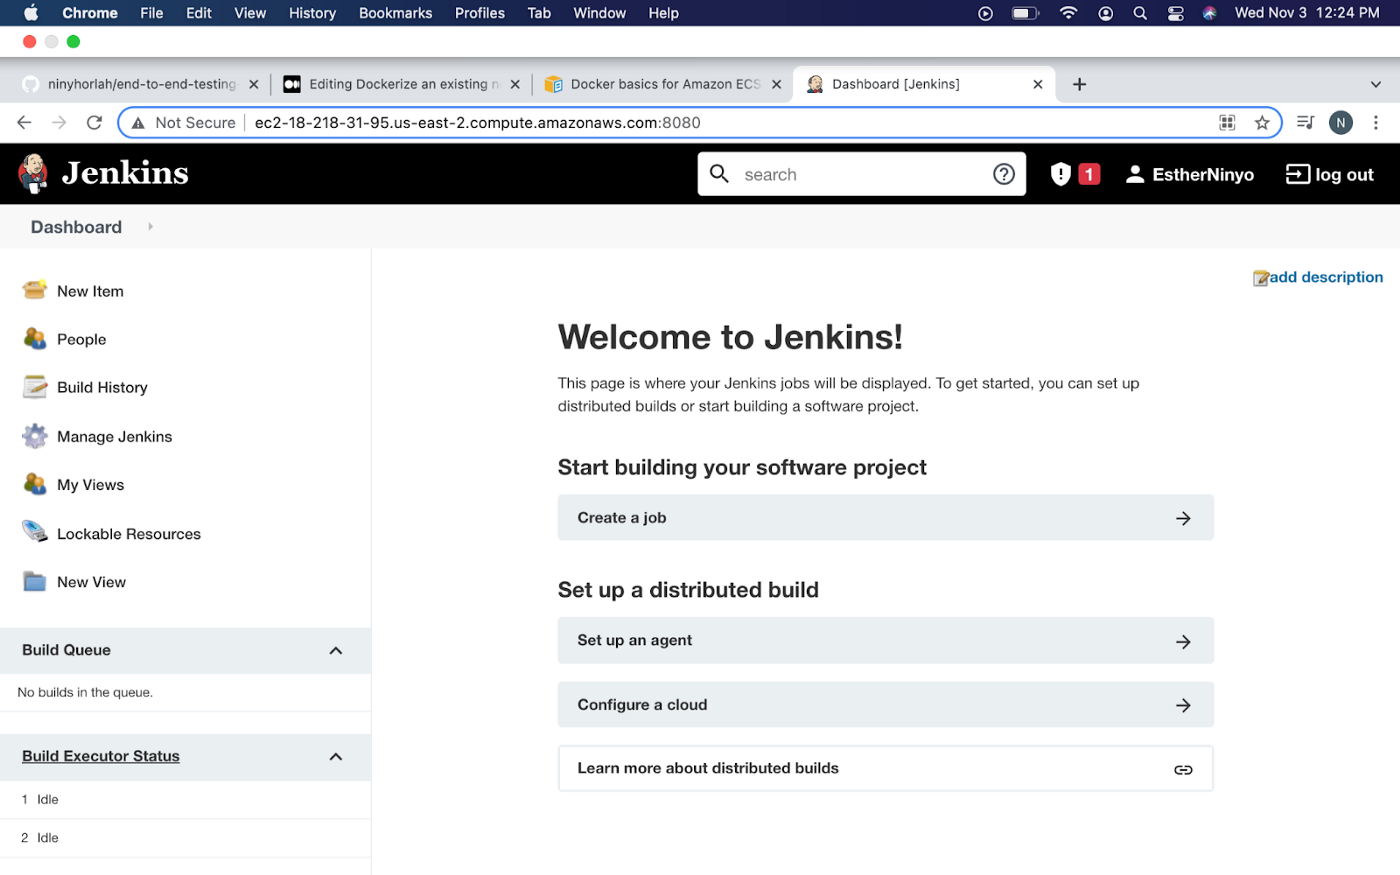
Step Five: Create your profile and move it to your dashboard:

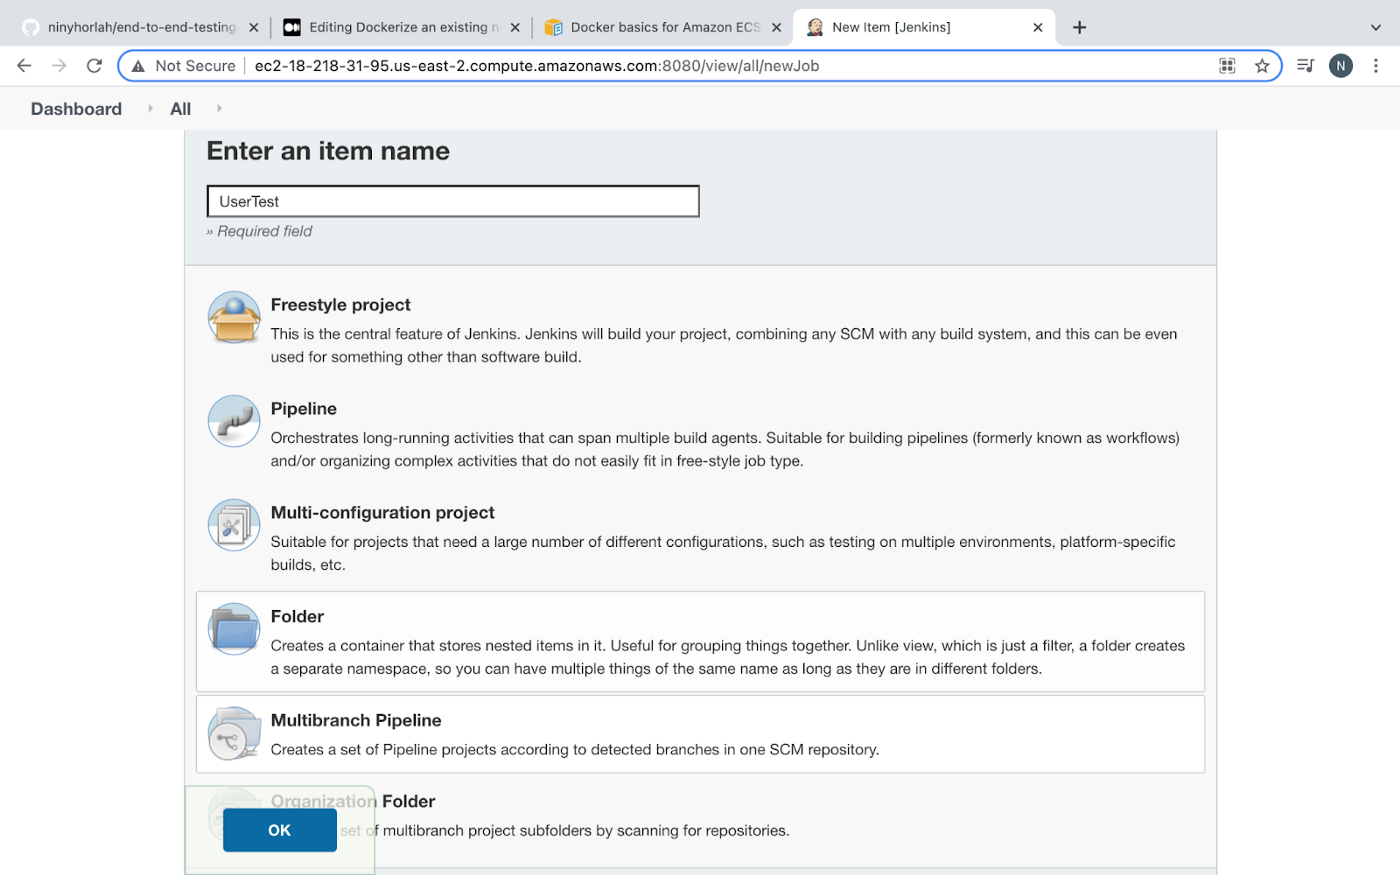
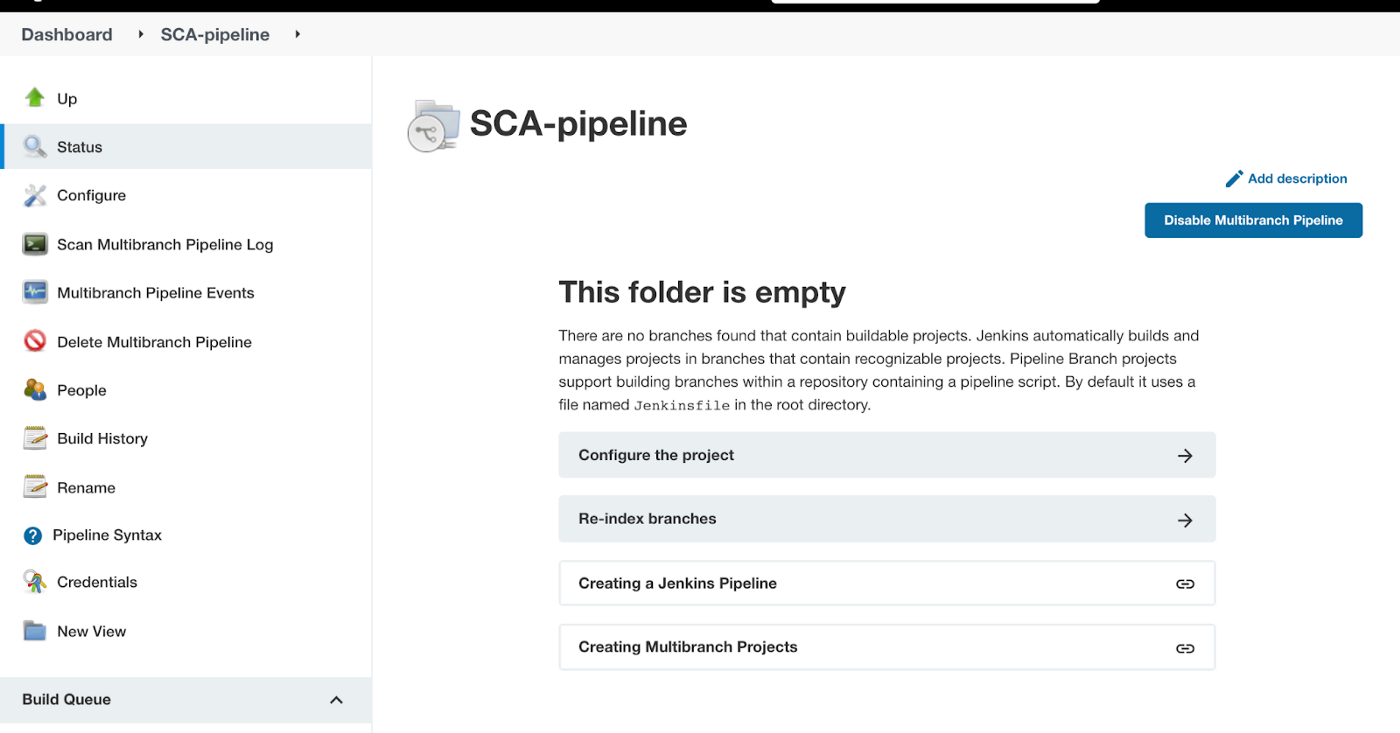
Step Six: Click on New Item, input the item name, select multibranch pipeline and click on OK.
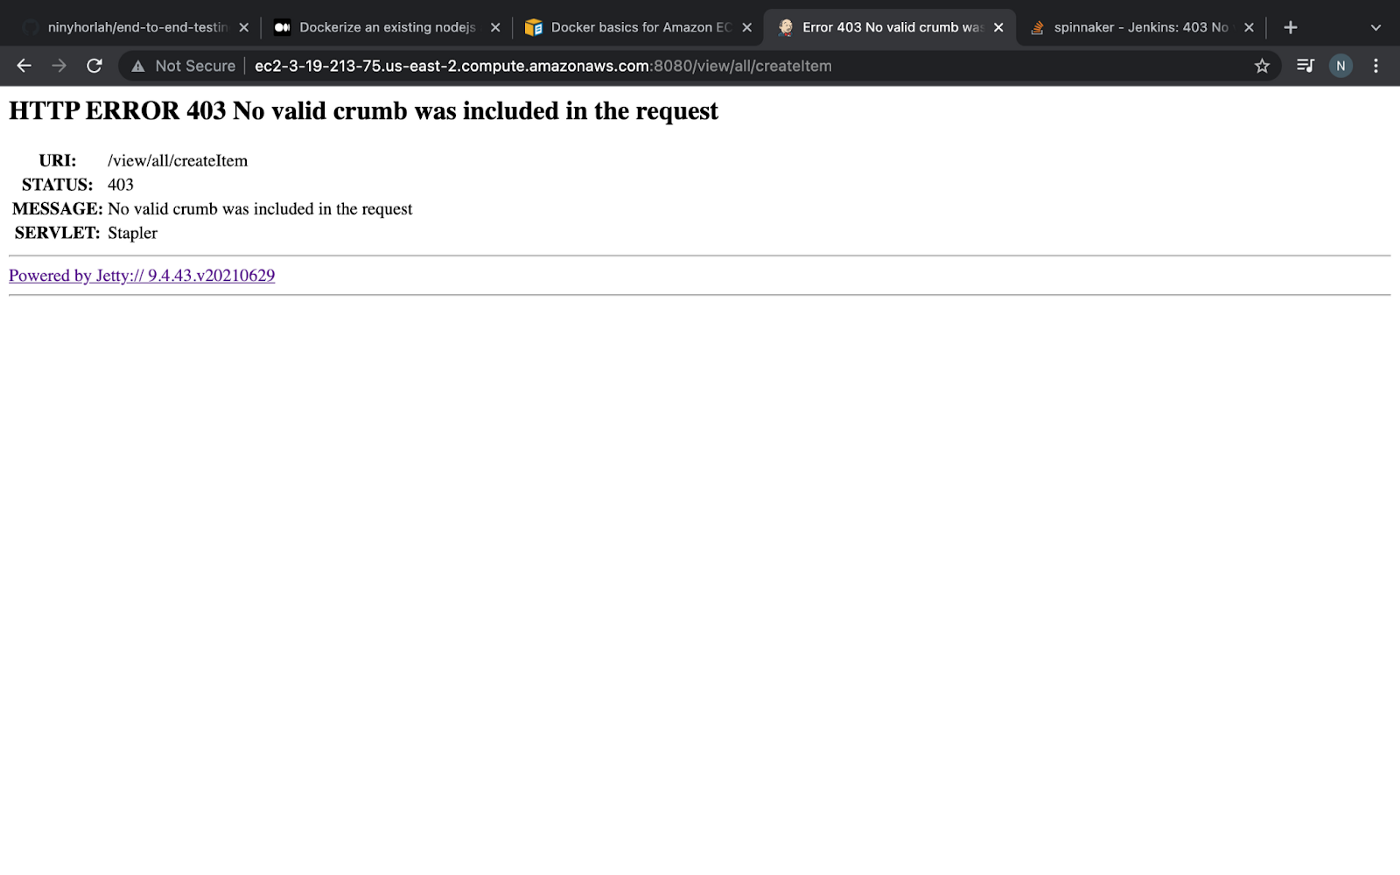
Note: After you click on OK, you might get an error as shown in the image below:
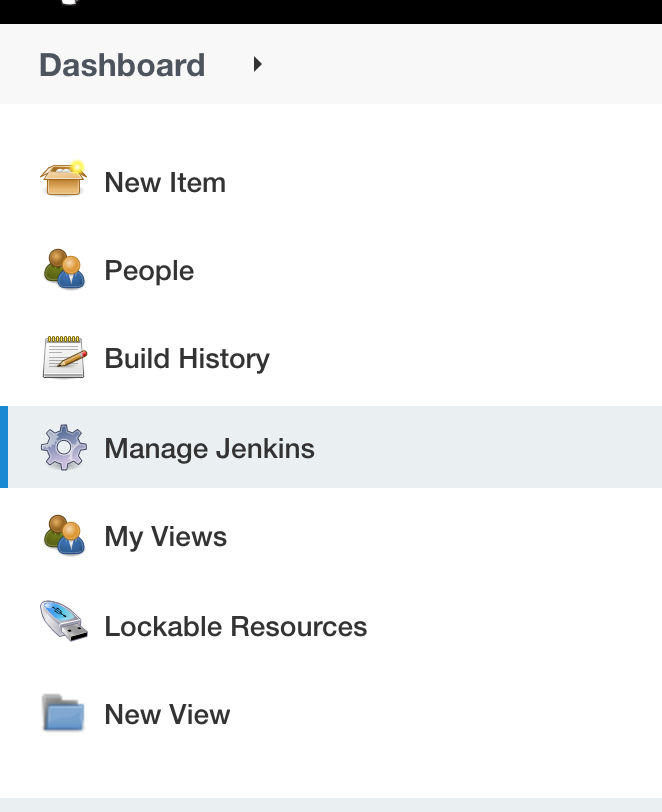
To resolve it, head over to your dashboard, click on Manage Jenkins:
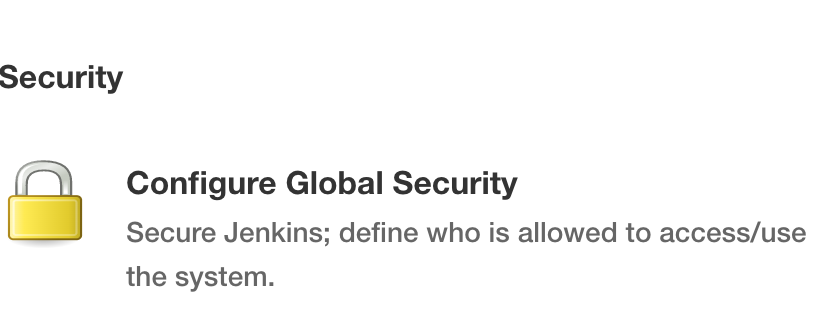
Scroll down a little bit, click on Configure Global Security under the security section:
Scroll down a little bit, you will see CSRF protection. Afterwards, check the enable proxy compatibility box and click on save. Note: do not click on apply.

Once you’re done with that, go back to step three above to create a multibranch pipeline.
Step Seven: The next step now is for us to create credentials for our pipeline. We will create two different credentials. One for the pipeline parent (every other job can access it) and the other is scoped to the pipeline job we’re working on.
To Create Credentials for the Pipeline Parent
- From your dashboard, click on the job name you created

- Click on credentials. Now you will notice names such as stores from parent and stores scoped to sca-pipeline (this is the name of the item you created), the one we’re working with first is the stores from the parent.
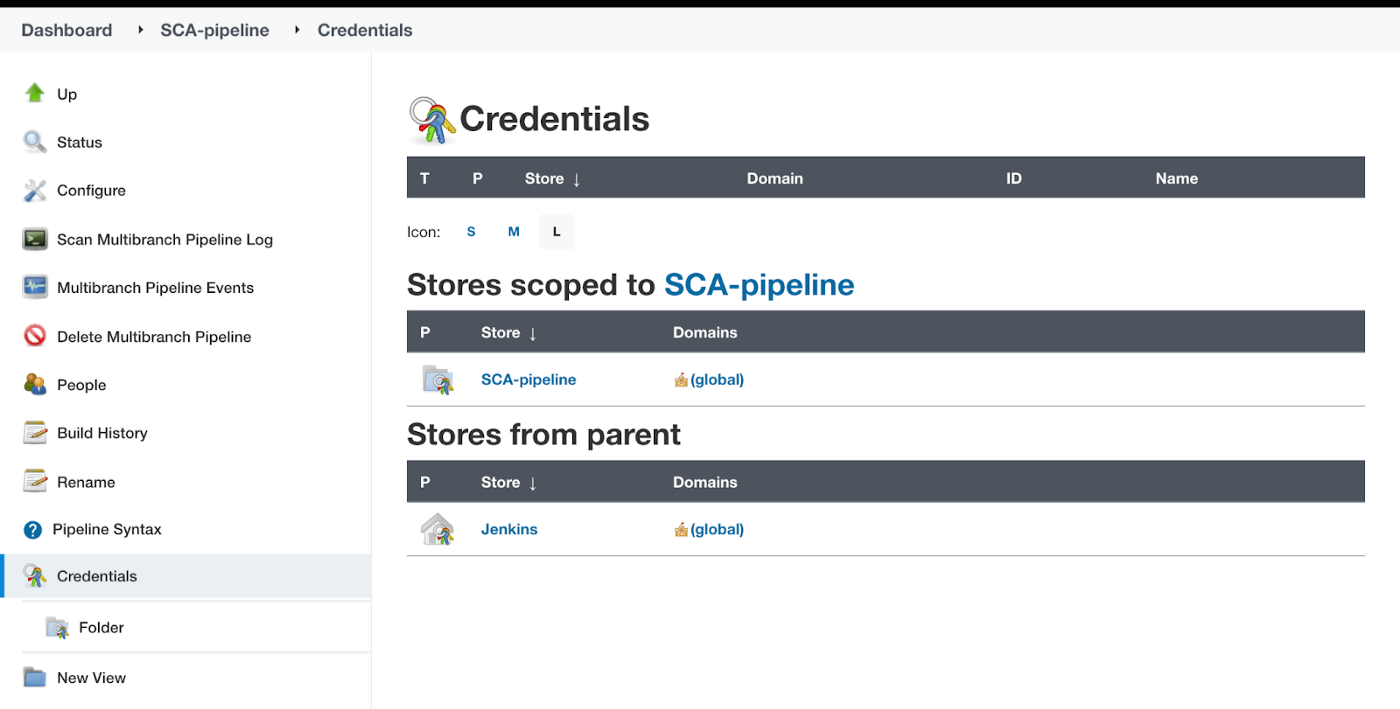
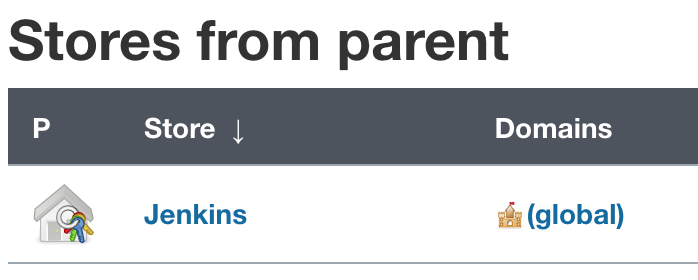
- Click on Jenkins under stores from parent.
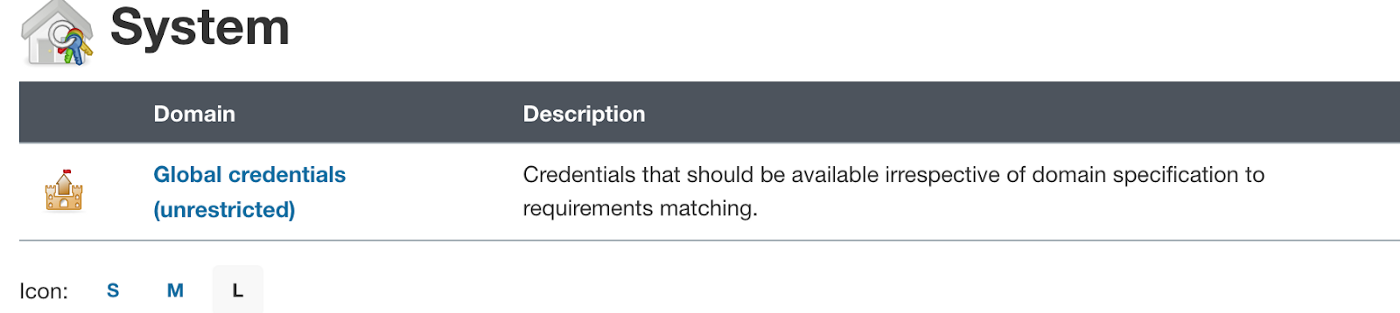
- Click on Global credentials(unrestricted).
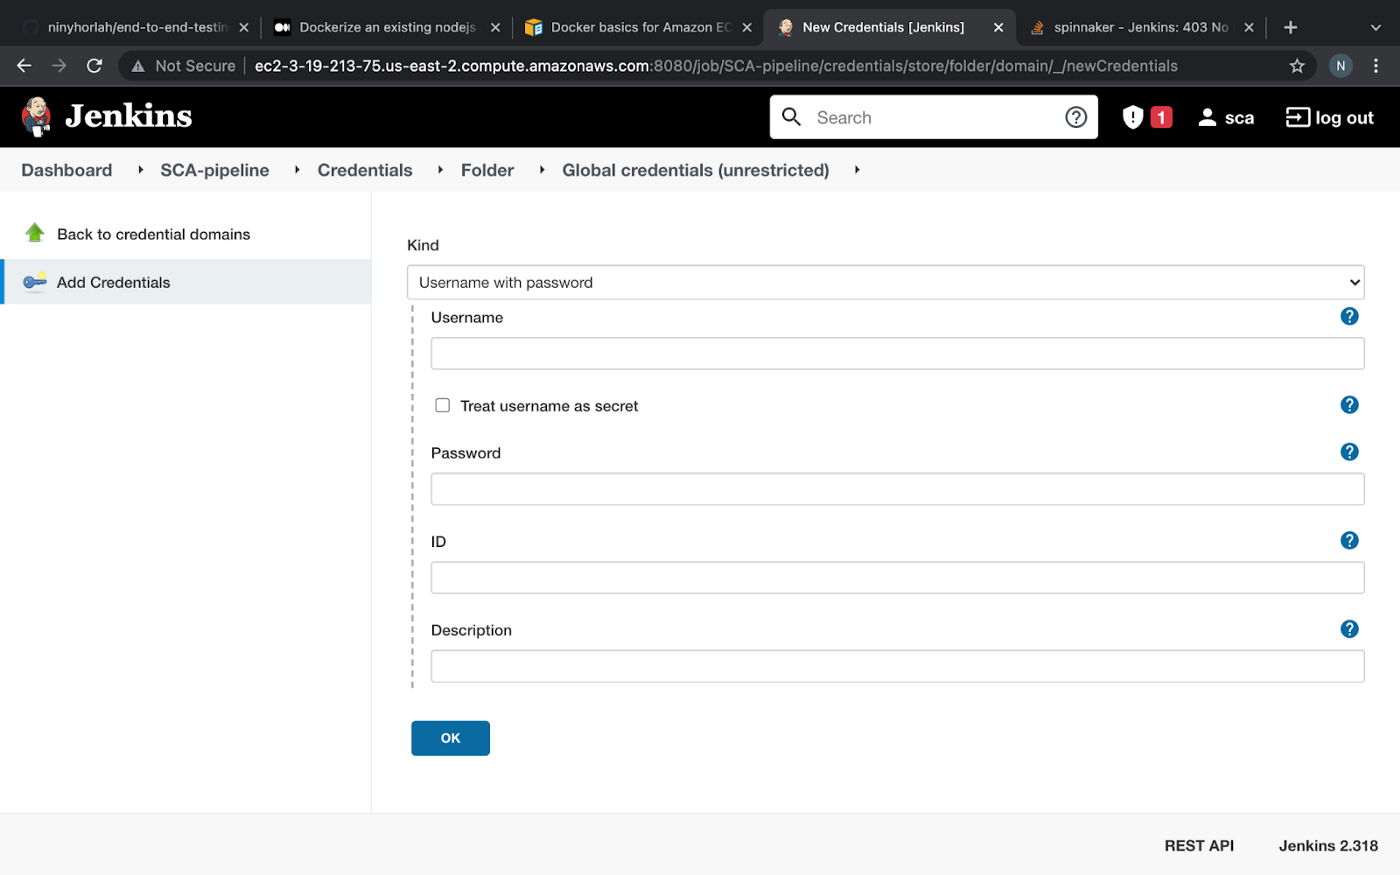
- Click on add credentials.
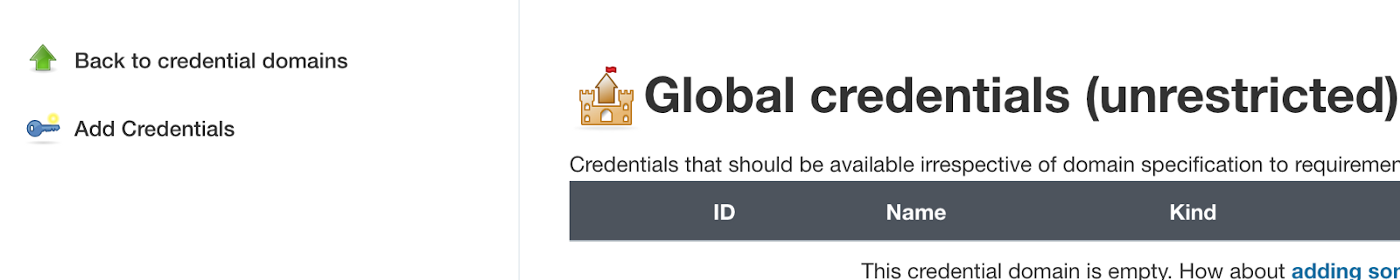
- After you have clicked on add credentials, you will have the same result as seen in the image below:
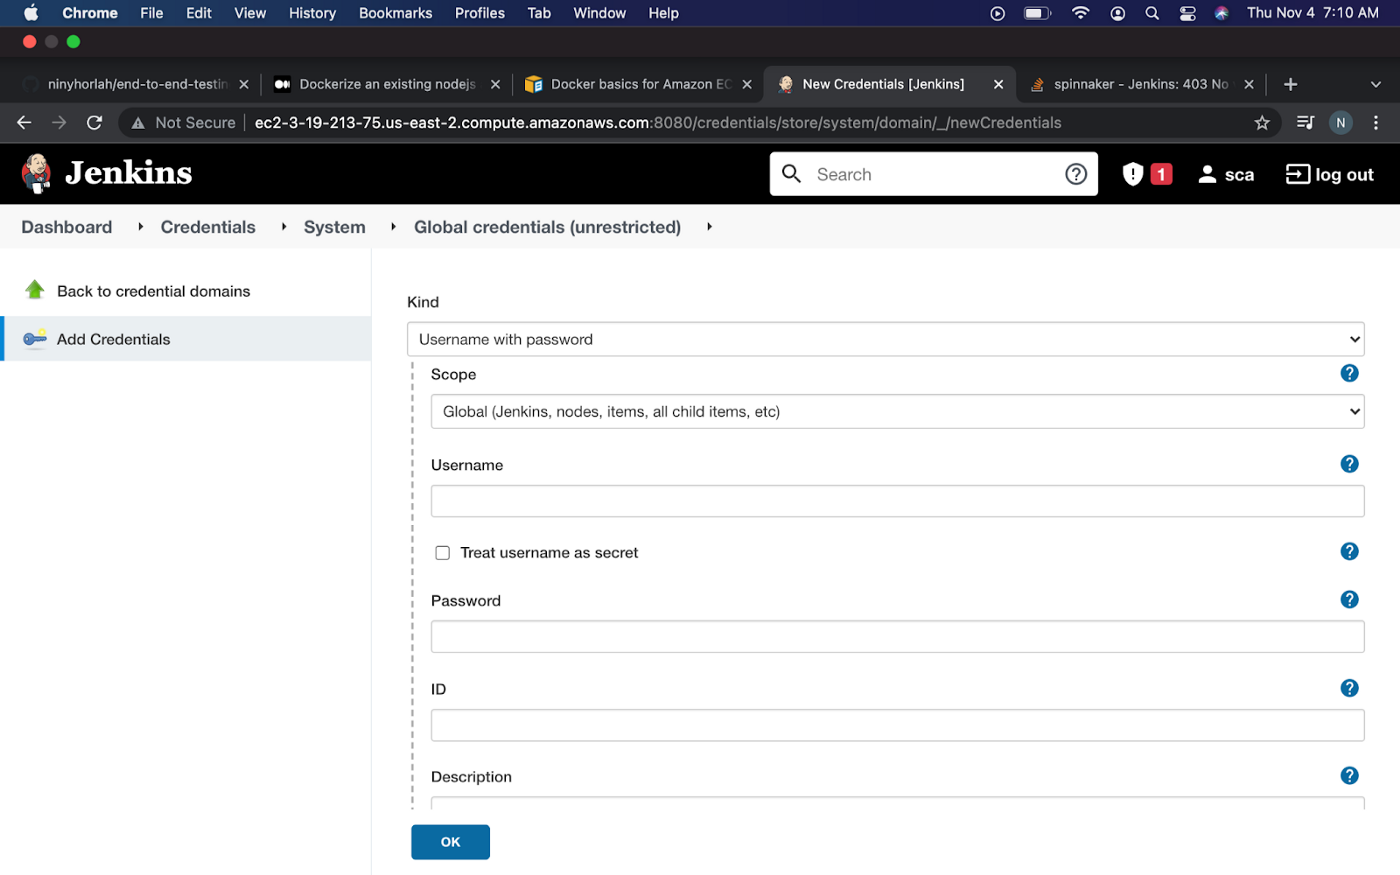
We will create two types of credentials here, one for global and the other for the system:
Global credential
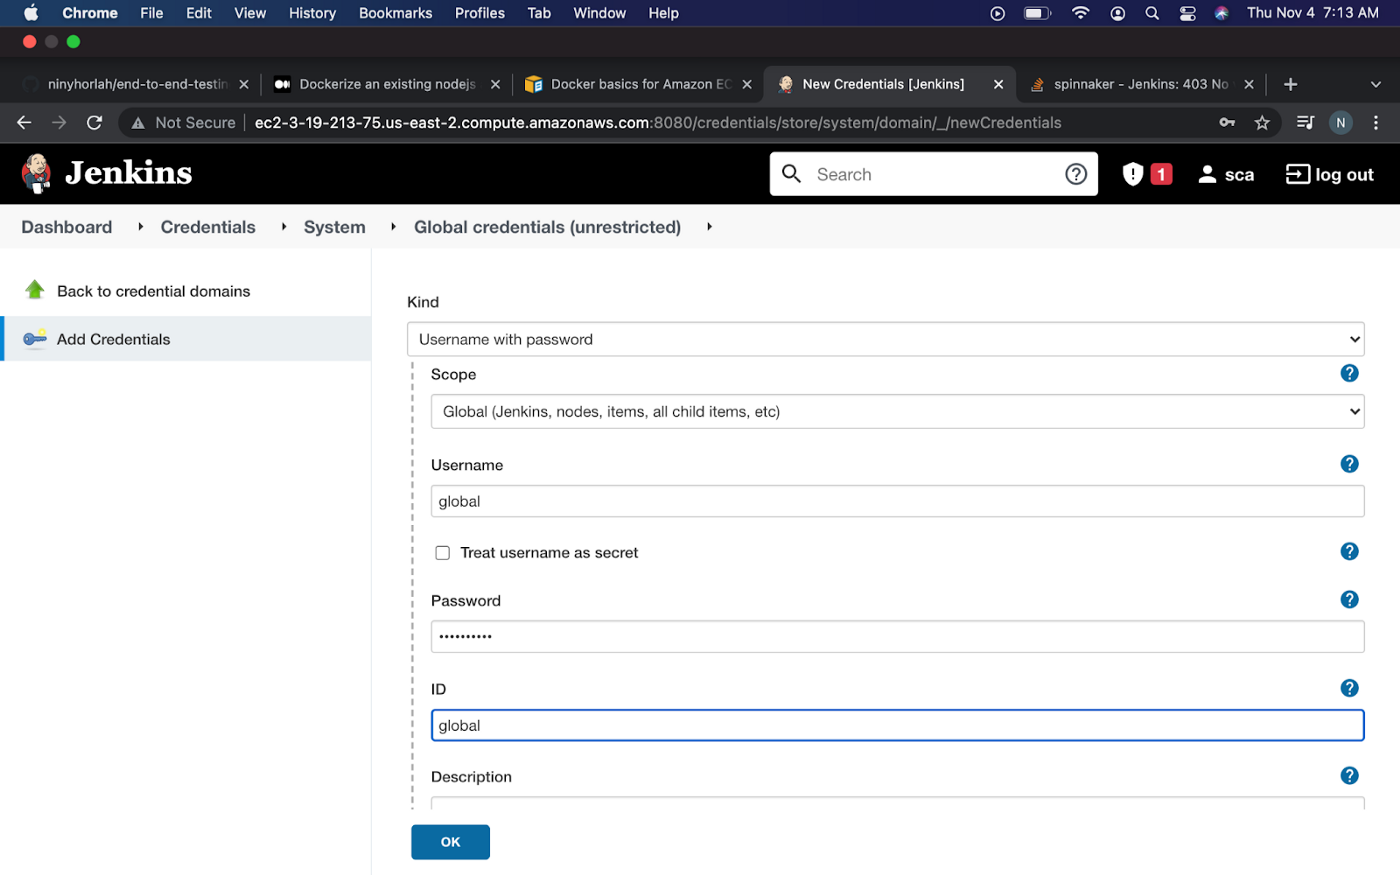
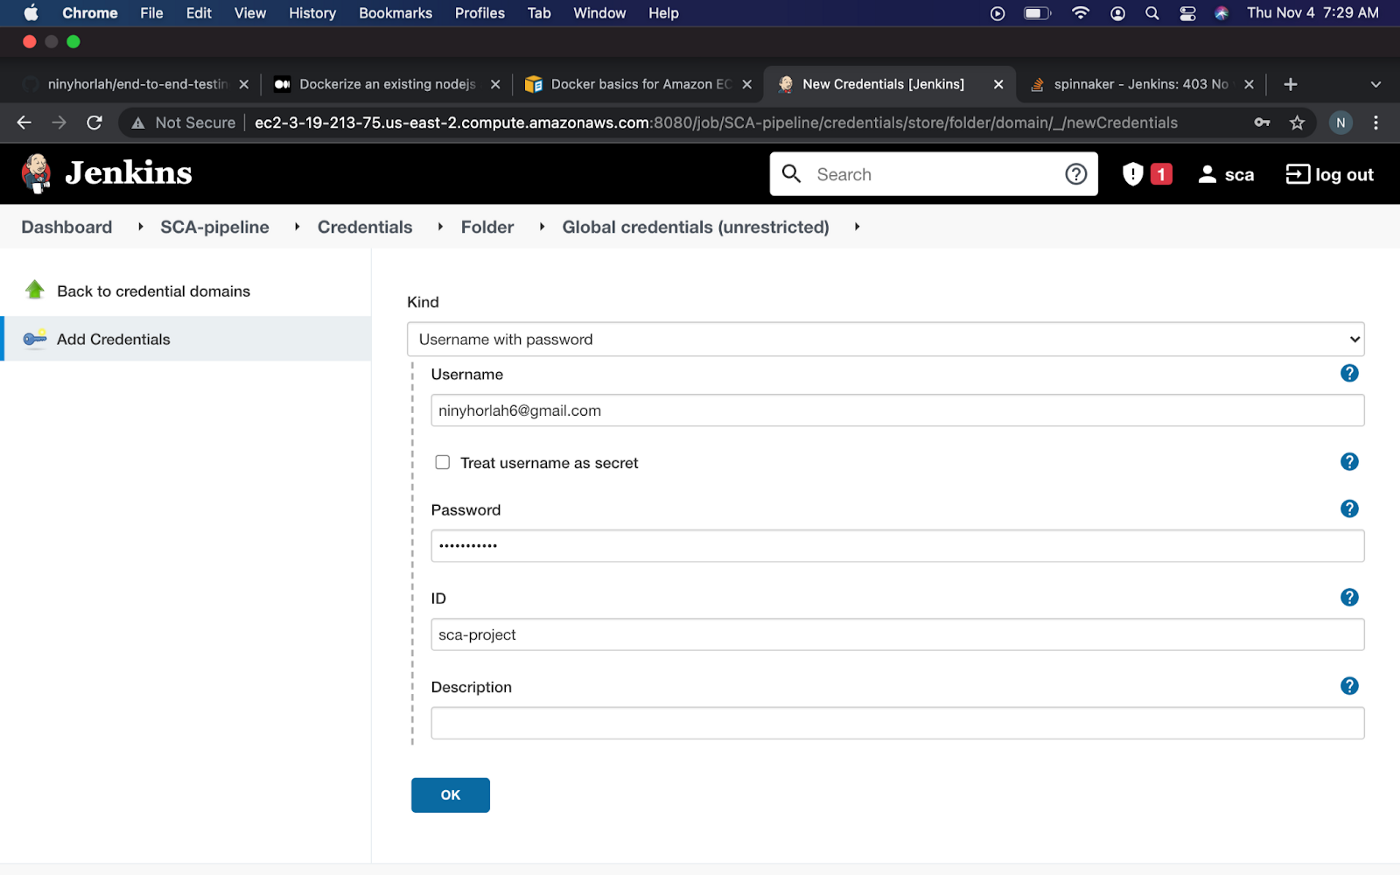
Leave the scope the way it is, type in a username, password and ID you want to use and click OK.
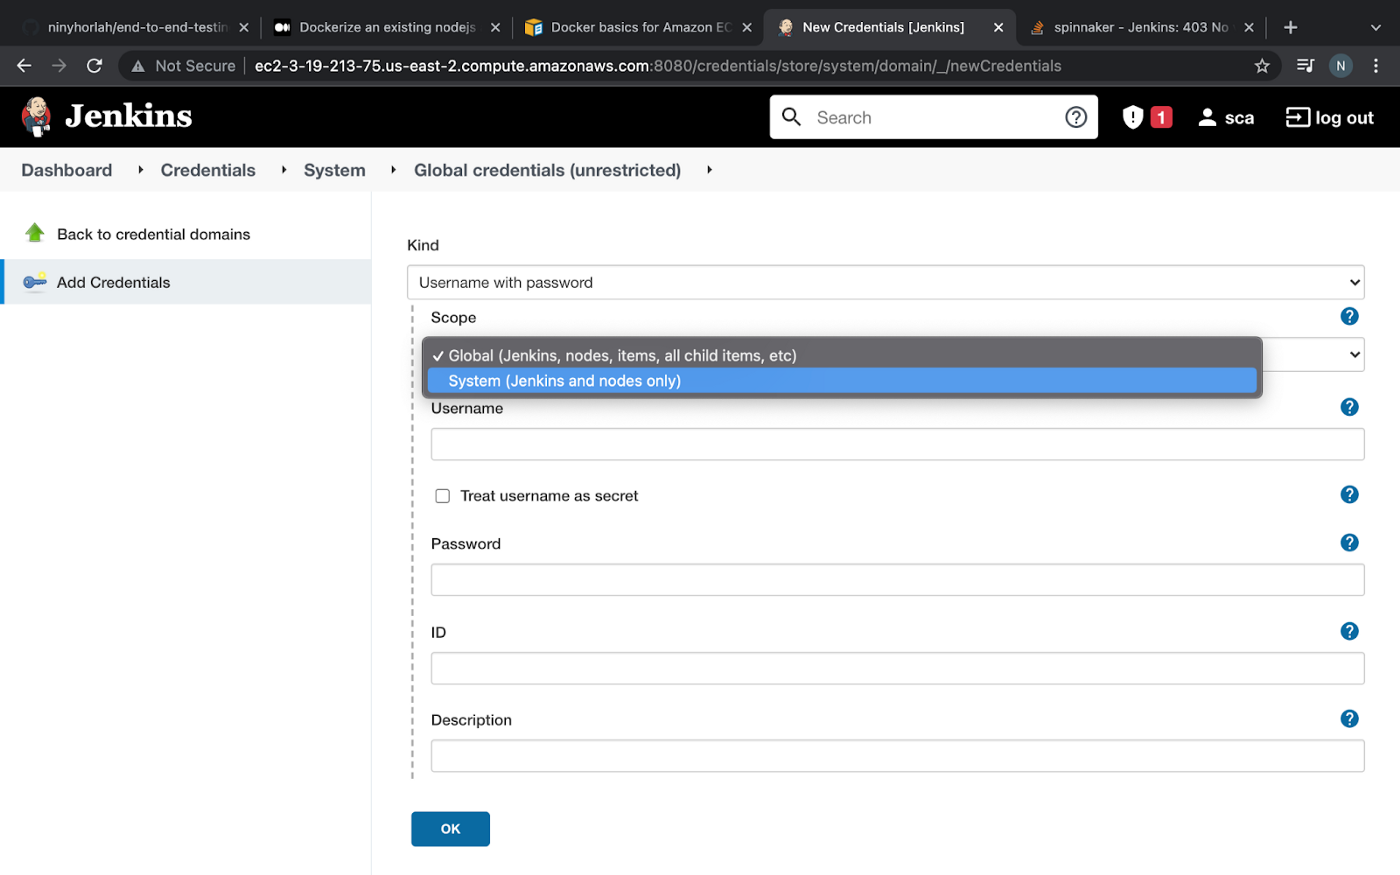
System Credentials
Click on add credentials again, this time, change the scope to the system by selecting it in the dropdown, type username, password and ID, then click OK.

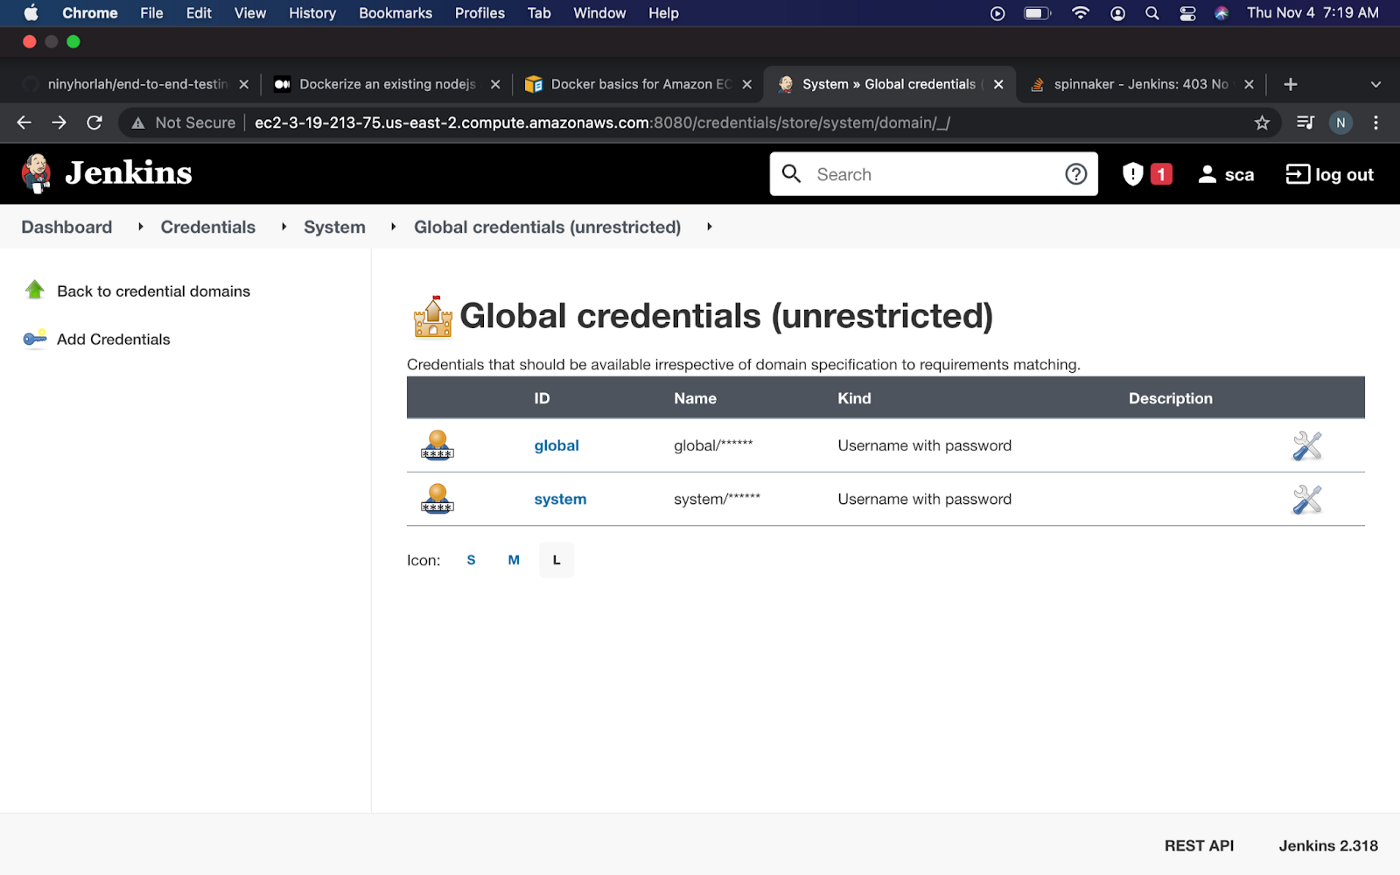
If you’re able to do it correctly, this is what your result will be:
To Create Credentials for the Job Pipeline
The credential we are creating here should be that of the GitHub repo you want to use:
- From your dashboard, click on the job name you created, click on credentials and click on the job name under stores scoped to sca-pipeline (this is the job name you created).

- Click on global credentials and click on add credentials just as we did before.
- Fill in the credentials of the GitHub repo you’re making use of here and click OK.
Step Eight: Go back to your job dashboard and click on configure.
Step Nine: Under the branch source, select Git.

Step Ten: Fill in the credentials as seen in the image below and click save.
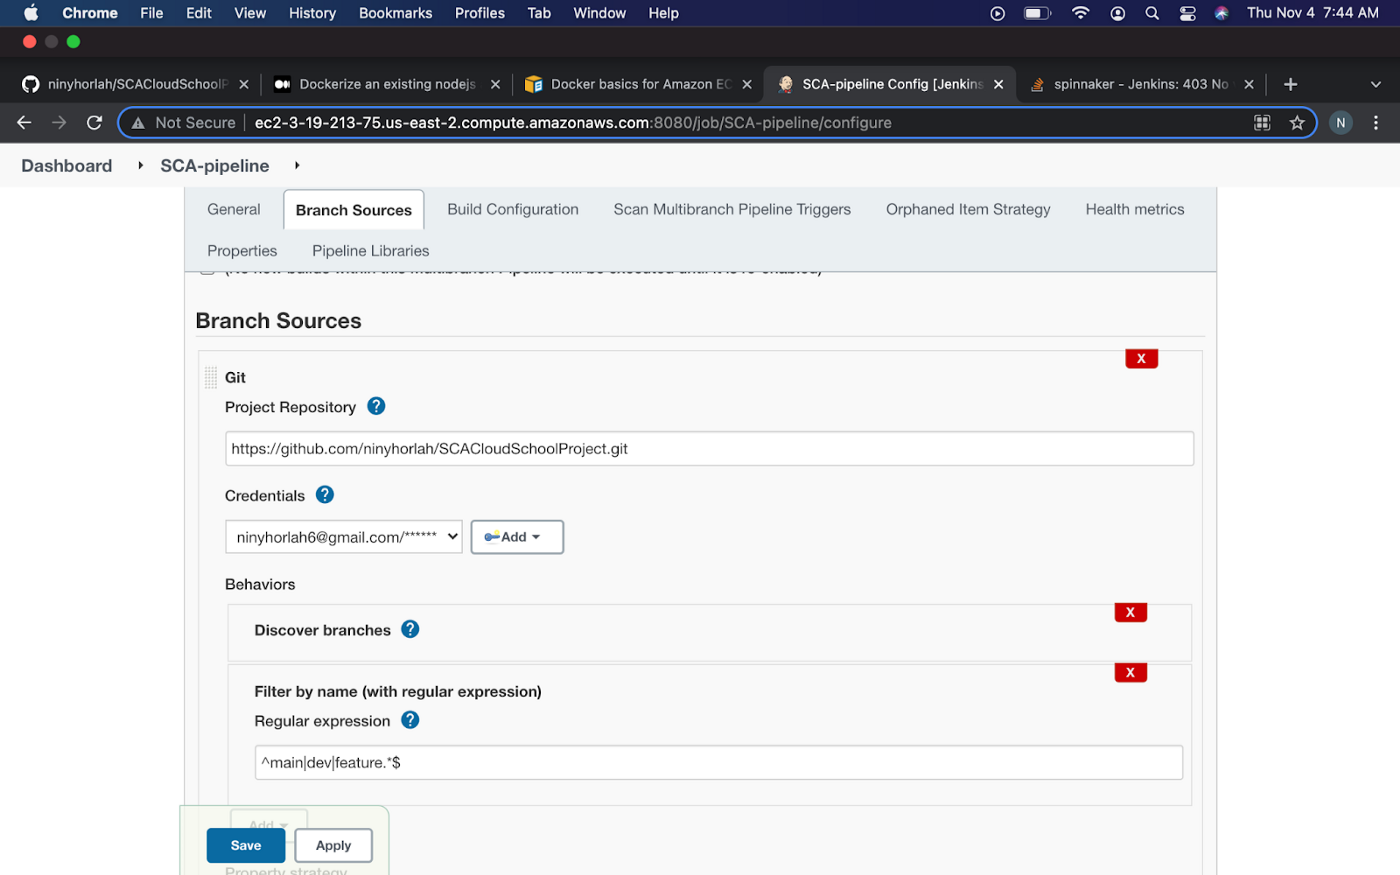
If done well, you will get a log report showing your branches and stating that the Jenkinsfile was not found. The next thing now is to create a Jenkinsfile
Creating a Jenkinsfile
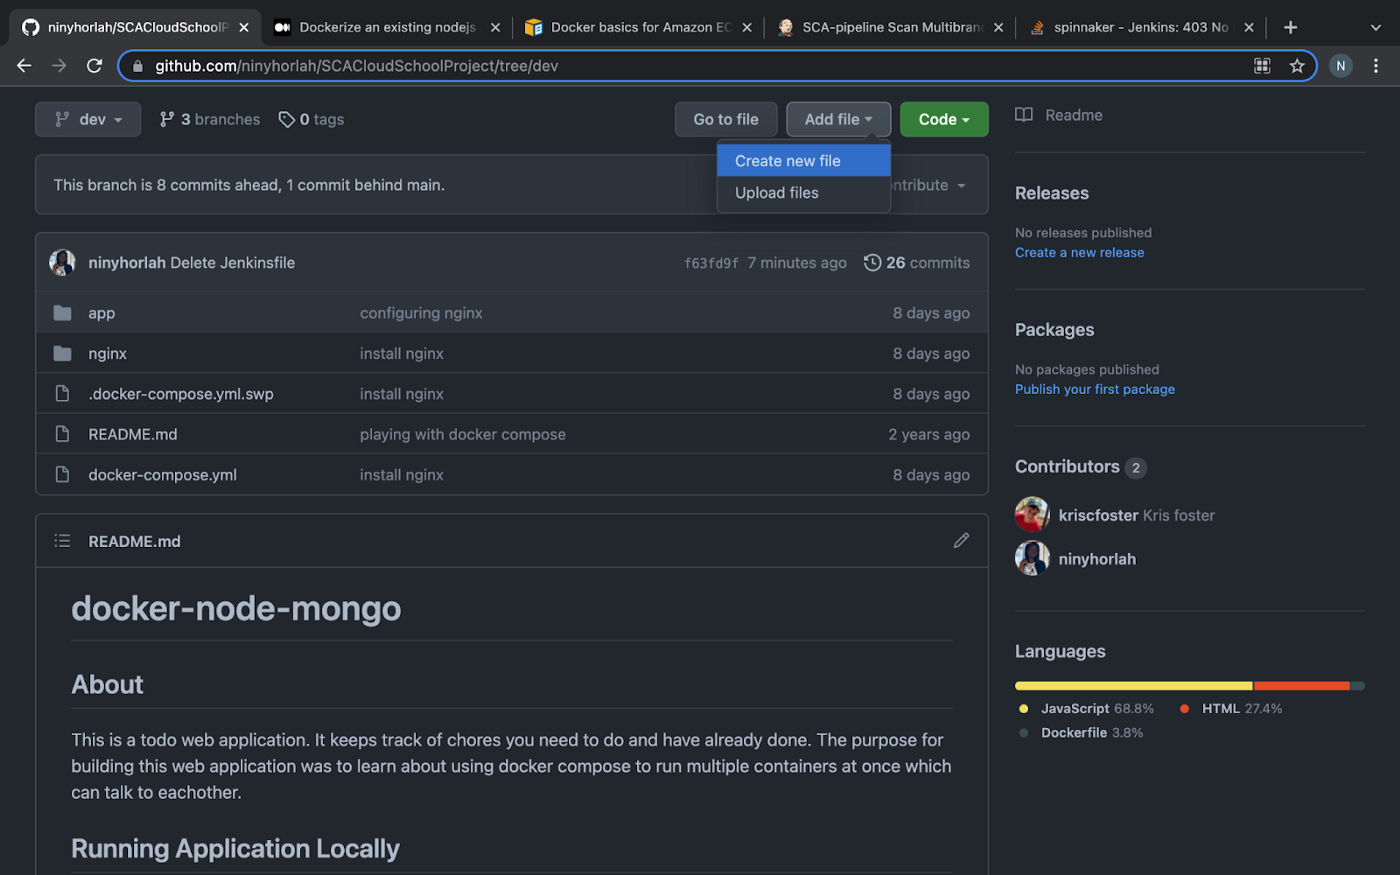
Step One: Head over to GitHub and create a Jenkinsfile in one of the branches of the repository you’re using.
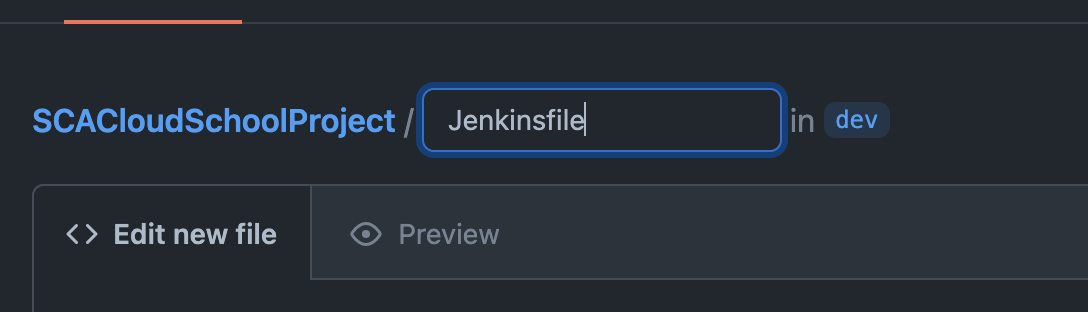
Step Two: Type the following inside the file you created.
pipeline{

   agent any

   stages{

       stage("build"){
          steps{
              echo "building the application..."
         }
      }

     stage("test"){
          steps{
              echo "testing the application..."
         }
      }

     stage("deploy"){
          steps{
              echo "deploying the application..."
         }
      }

   }
}
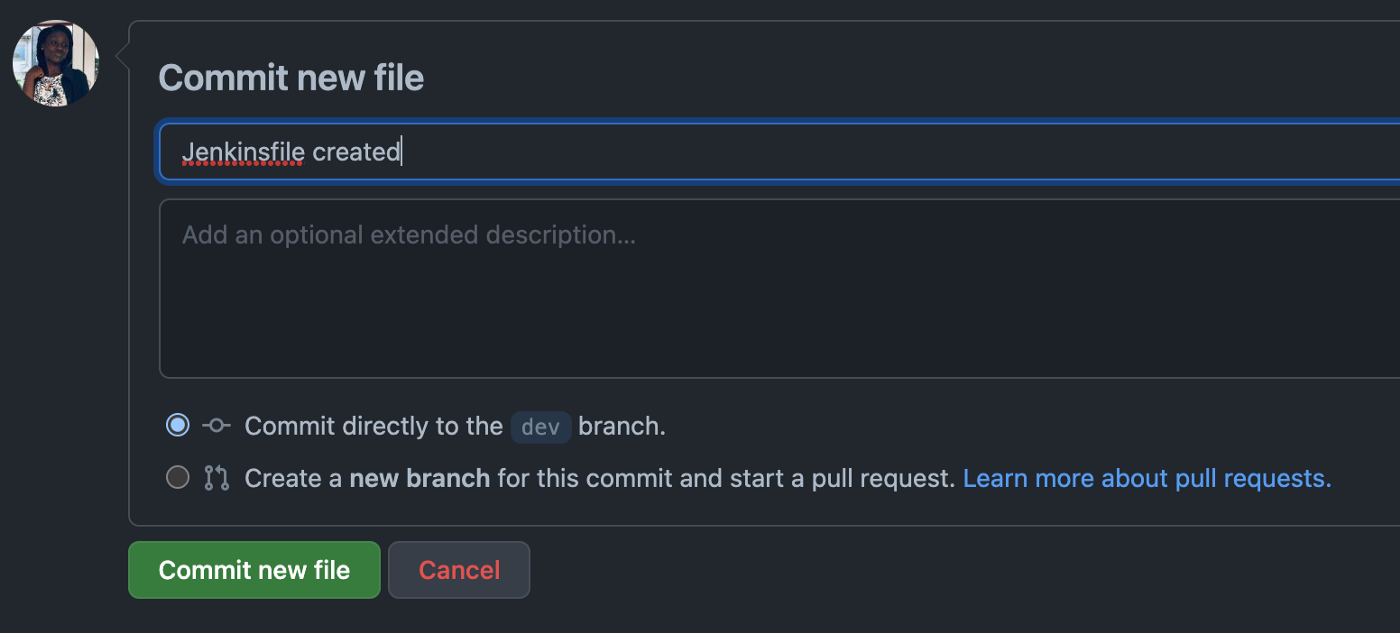
Step Three: Write a commit message and commit your changes by clicking commit new file.
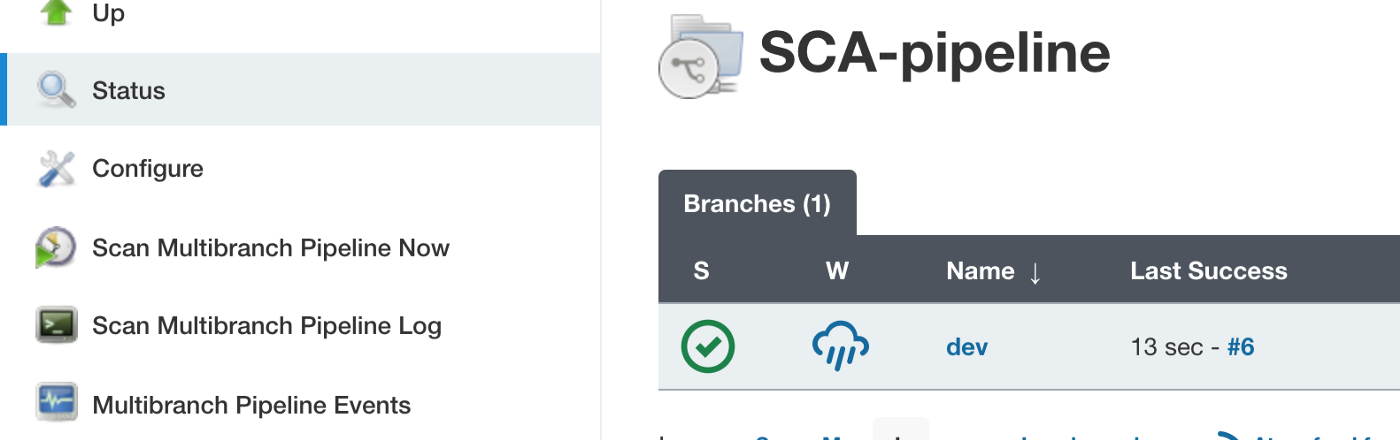
Step Four: Go back to your Jenkins dashboard, click on scan multibranch pipeline now and afterwards click on scan multibranch pipeline log.
If you check through the log, you will see that Jenkinsfile is now found in the dev branch.

Click on the status and you will see if your build is successful or failed.
Step Five: The next step is to automatically scan the multibranch pipeline without the need to do it manually. To do that, click on configure and scroll to scan multibranch pipeline triggers. Check the box and set the interval to 2 minutes (note that you can set it to your preferred time). After that, click on save.

Now, you don’t need to scan your pipeline manually as it will be done automatically now. Congratulations! You have successfully dockerized a Node.js app and also automated the Jenkins process. Thank you for following through. Don’t forget to like, clap and follow for more articles. See you later.


