How to Create an Instance with AWS
A step by step guide to create instance with AWS

Hi there,
Welcome to my blog. We will be learning how to create an Instance with AWS. Please note that this article is for complete beginners and simple terms are used for better understanding.
Introduction
AWS is a comprehensive and most adopted cloud platform which offers over 200 fully-featured services from data centres globally. You can read more here
Note that before you can create an instance on AWS, you must first have an account with AWS. If you don’t have an account, kindly follow this link to create one
If you already have an account, kindly follow the steps below to create an EC2 instance on AWS: Visit amazon.com and log in to your account as a root user.
Step One: After you are logged in, click on launch a virtual machine with ec2
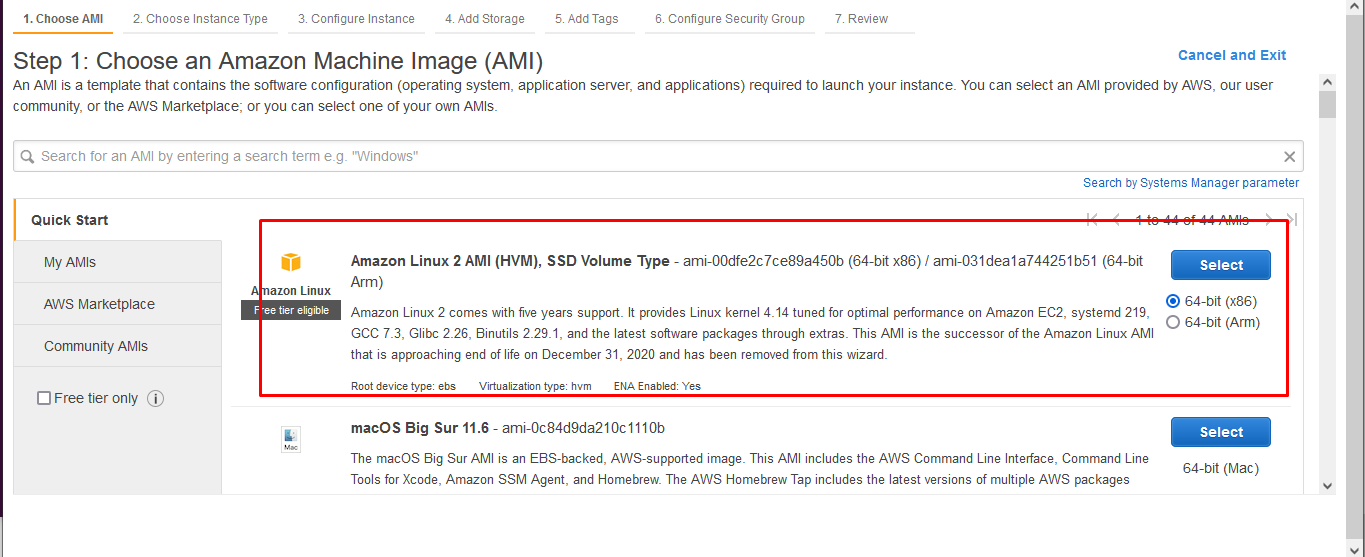
Step Two: Choose the type of Amazon Machine Image(AMI) you want but for the purpose of this article, the Amazon Linux 2 AMI is selected as seen below:
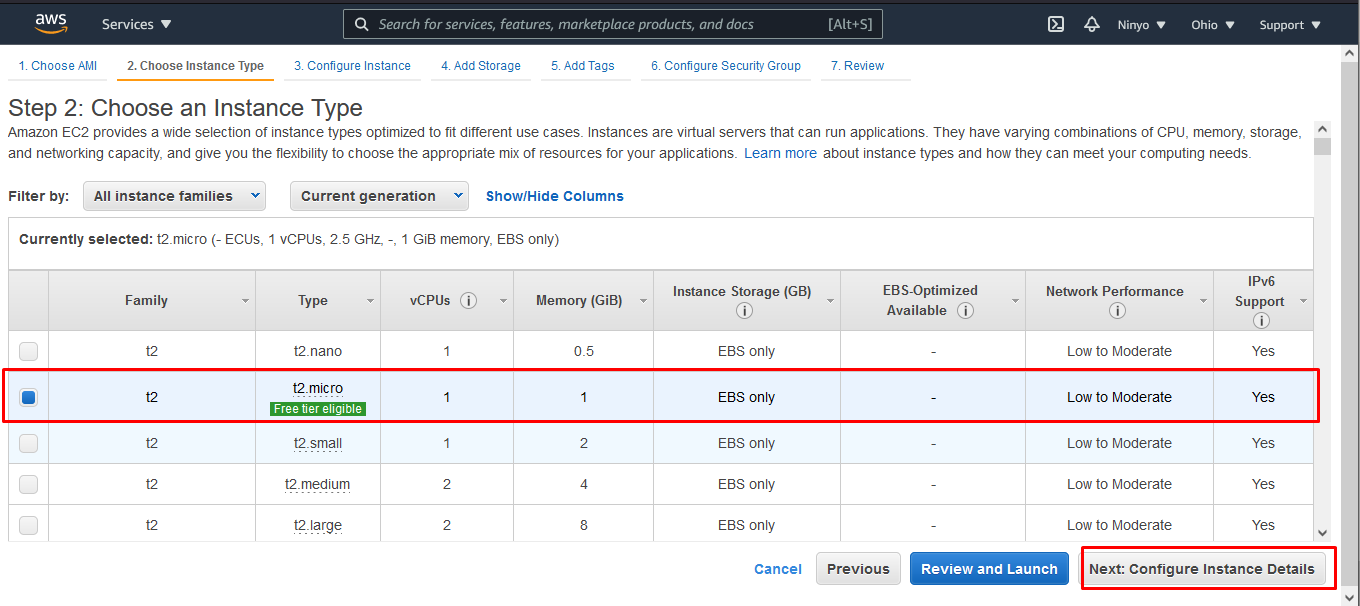
Step Three: Choose an instance type as seen below then click on next. Note: Do not click on Review and Launch.
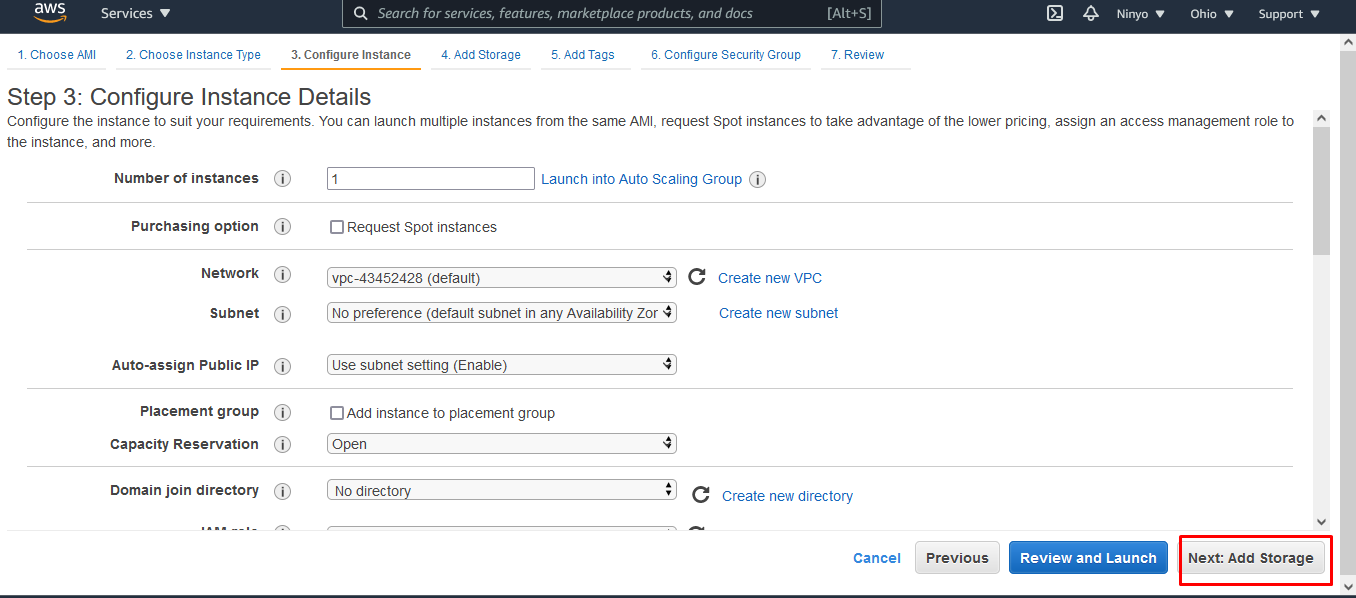
Step Four: On the configure instance details, leave everything the way it is and click on next to add storage page.
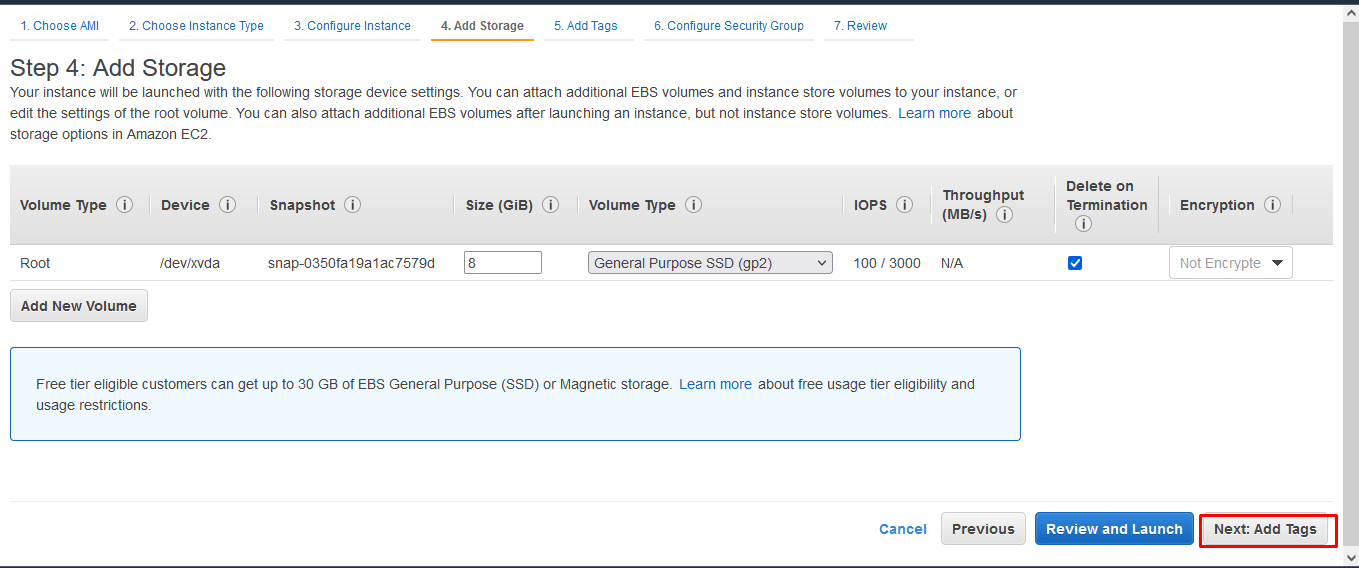
Step Five: On the add storage page, also leave it the way it is and click on next to add tags.
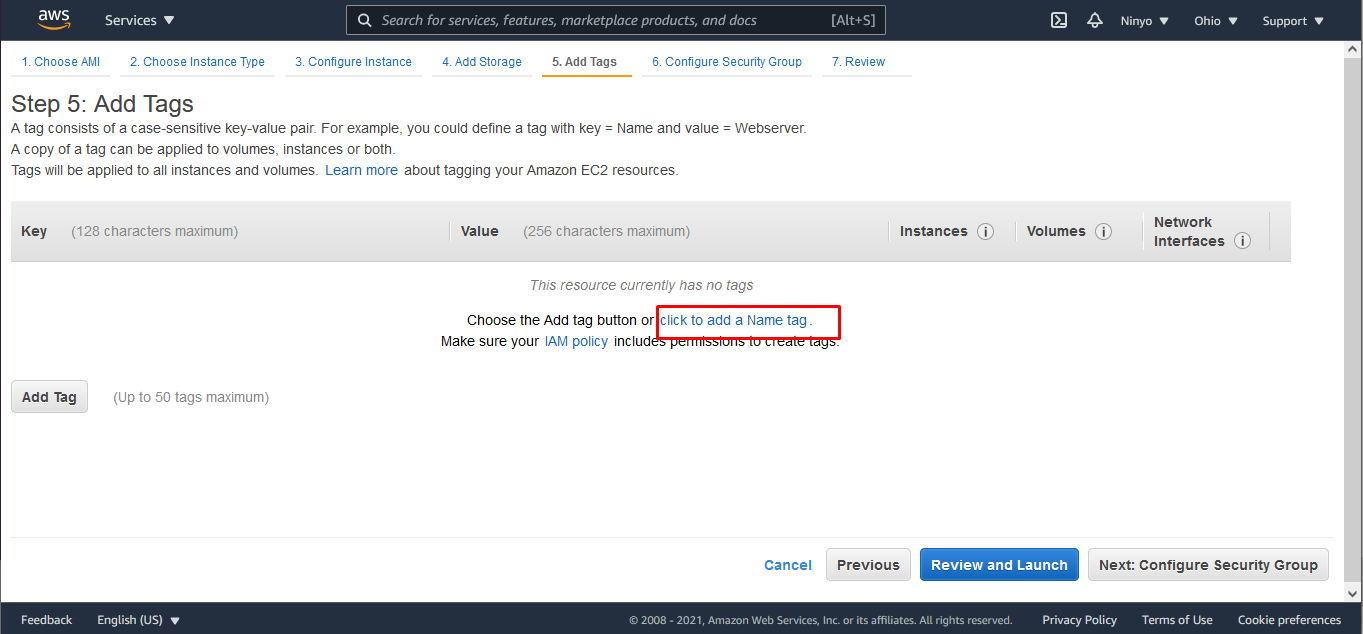
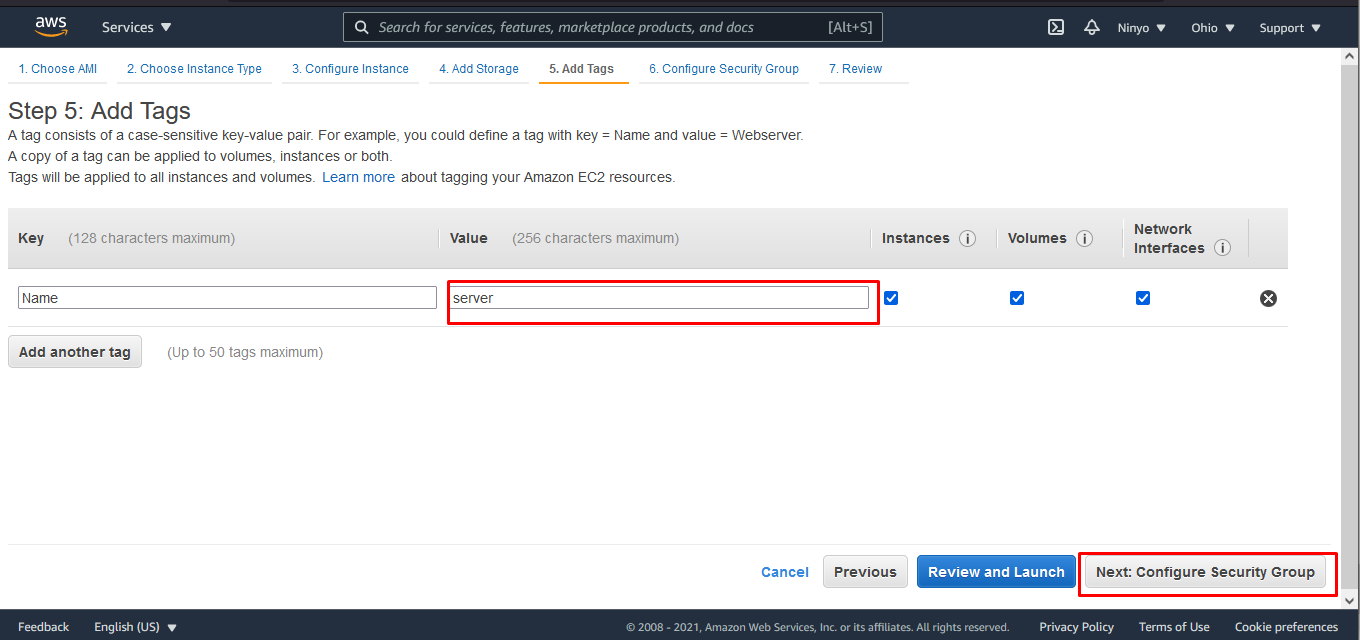
Step Six: On the add tag page, click on “click to add a name tag” to give your instance a particular name for identity. So I gave mine server. After that, click on next to configure the security group.
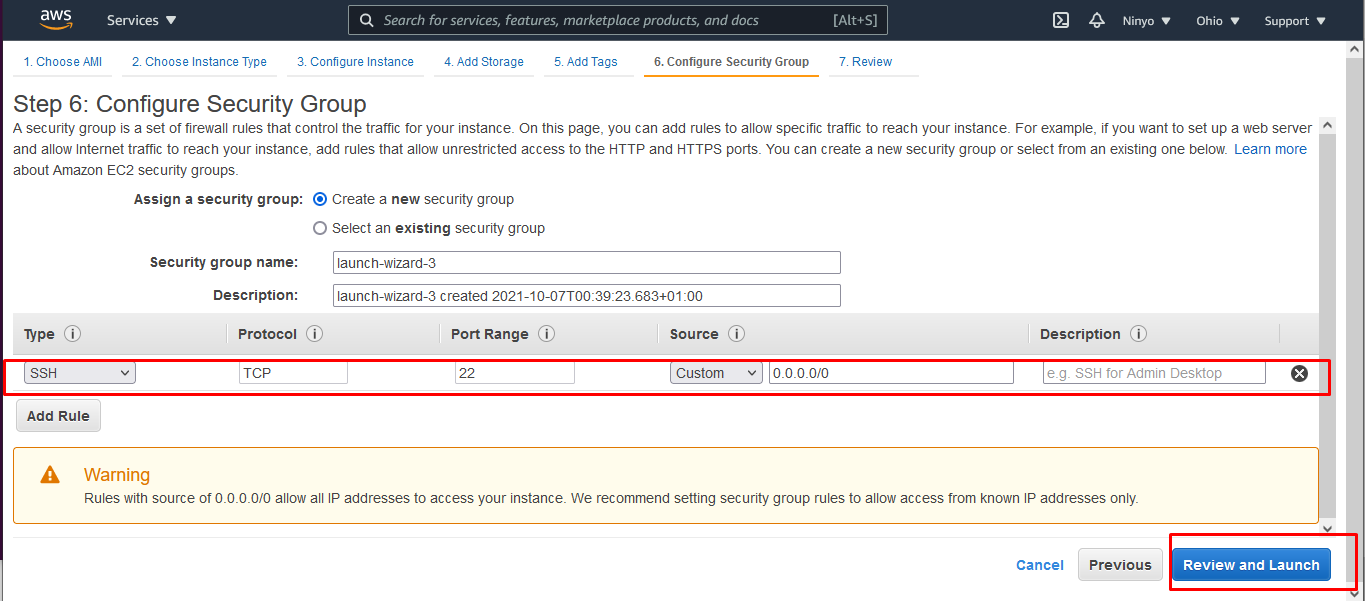
Step Seven: On the configure security page, make sure your type, port range and the source is as shown below, then click the review and launch button.
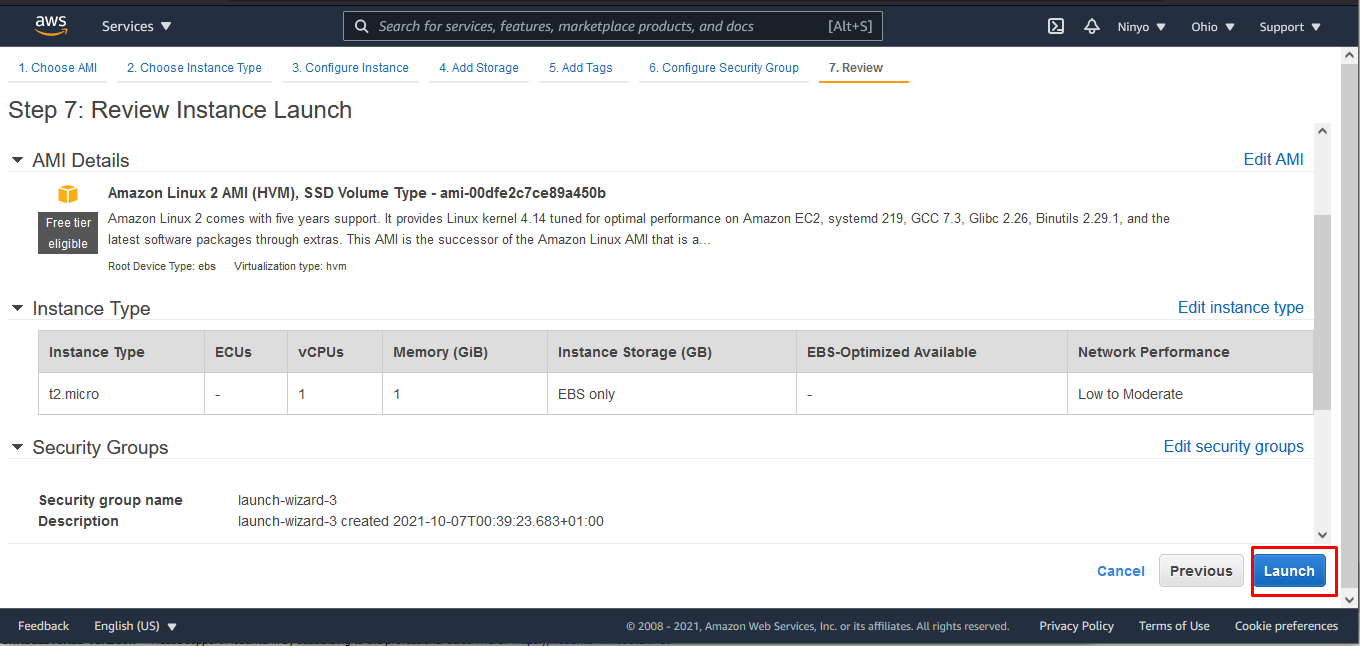
Step Eight: Once you’re done reviewing your work, click on launch.
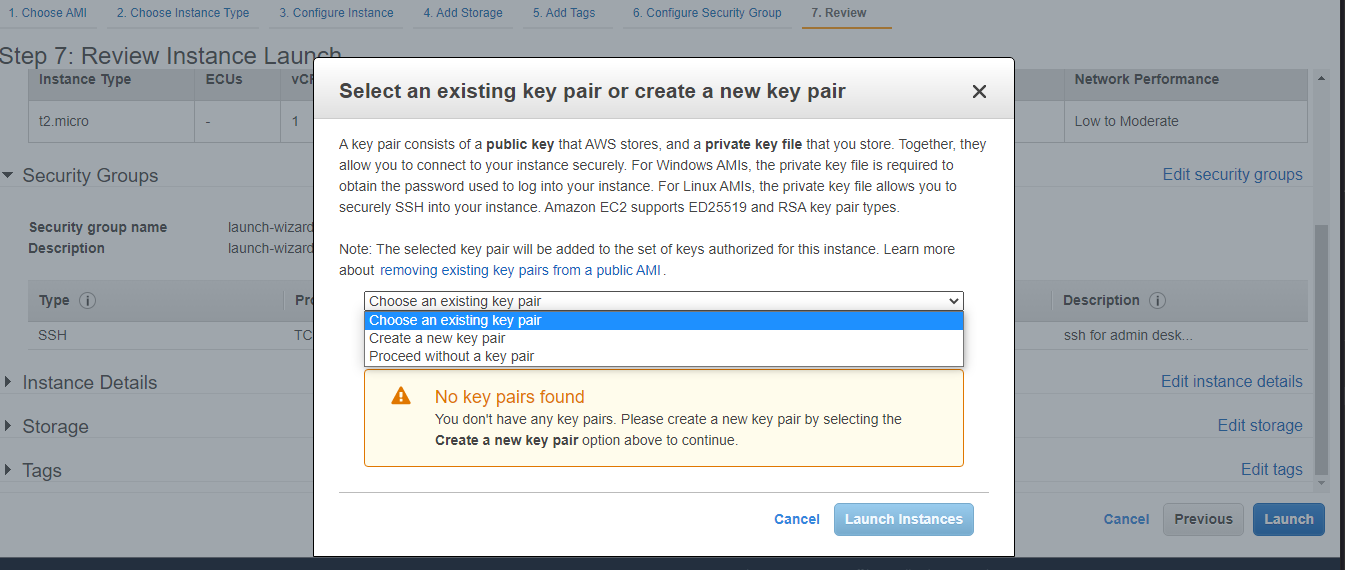
Step Nine: Once you click on launch, a modal will appear that requires you to download a key. Make sure you create a new key pair but if you already have, you can choose an existing key pair. Download and save the key in a safe place as you won’t have the privilege to download it later. In creating a new key pair, RSA is selected for this article. To know more about the key types, kindly visit this link
Once your key is downloaded, launch your instance.
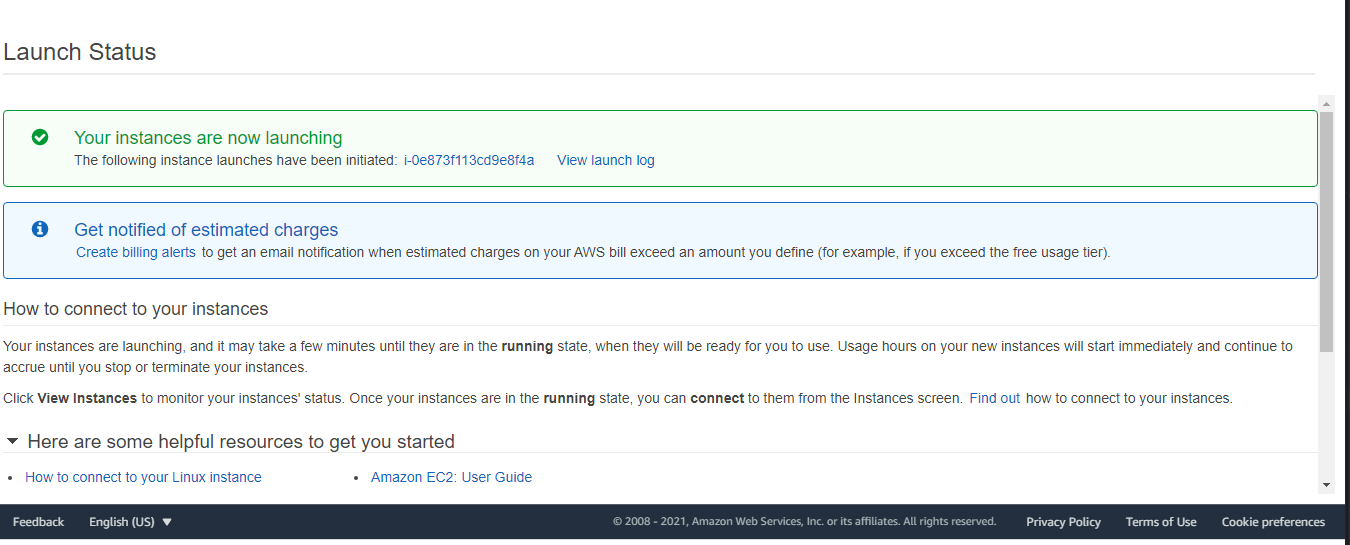
Congratulations, you just created an EC2 instance. Watch out for my next post on how to SSH into your instance using mobaxterm SSH Client.


