How to Create an AWS Account

Hi there,
Welcome to my article on how to create an AWS account. Please do note that this article is for complete beginners that need help in creating an AWS account.
Steps involved in Creating an AWS Account
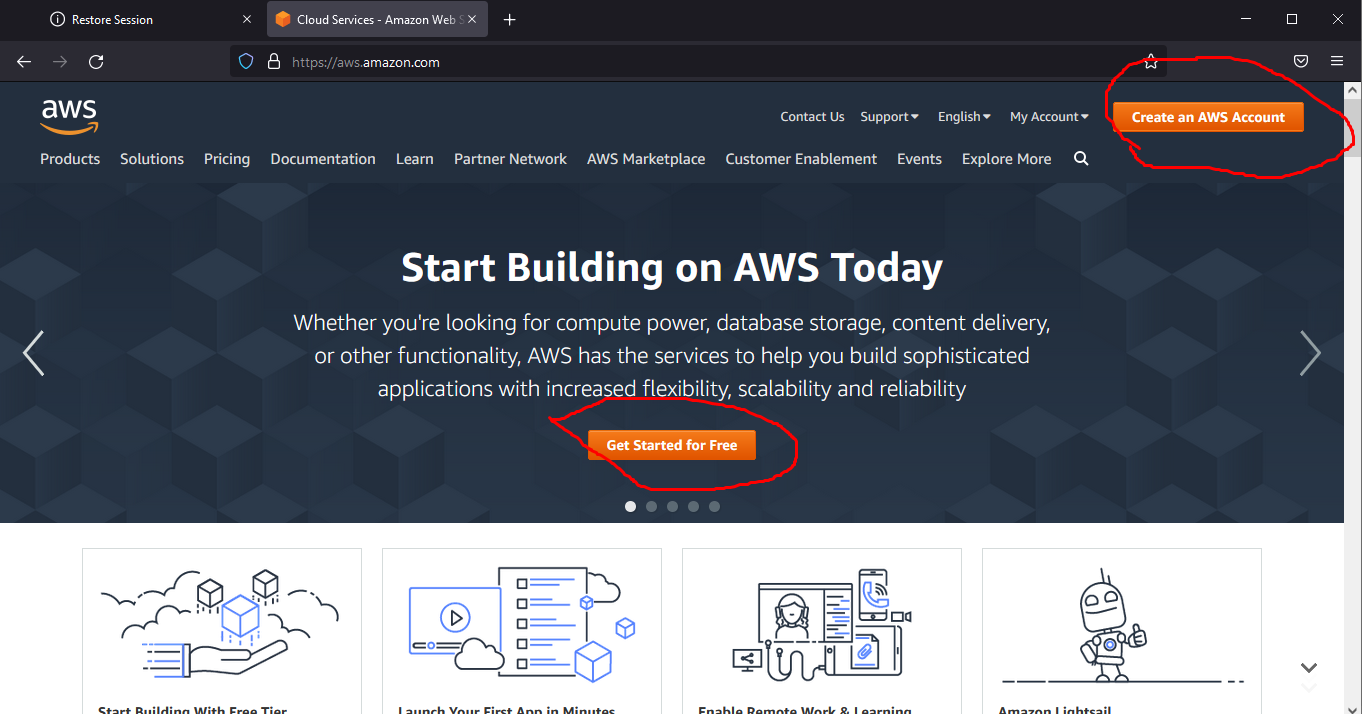
Kindly follow the steps below to create an account on AWS The first thing to do is to visit amazon.com and click on the create an AWS account button or get started for free button as shown in the image below
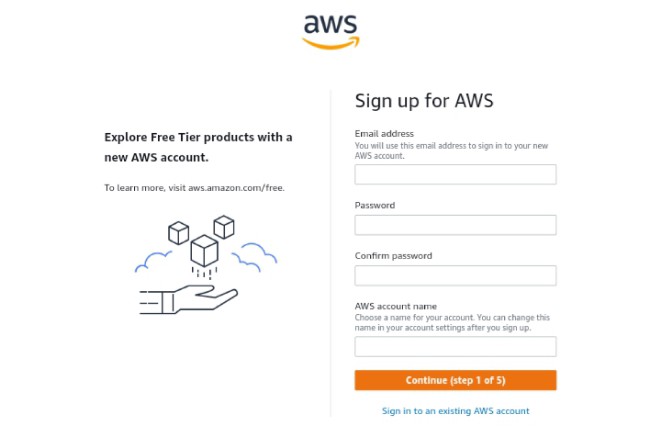
Step One: After clicking the button, you will be required to fill in your information i.e fill in the email address, password and the AWS account name you want to use. Afterwards, click continue.
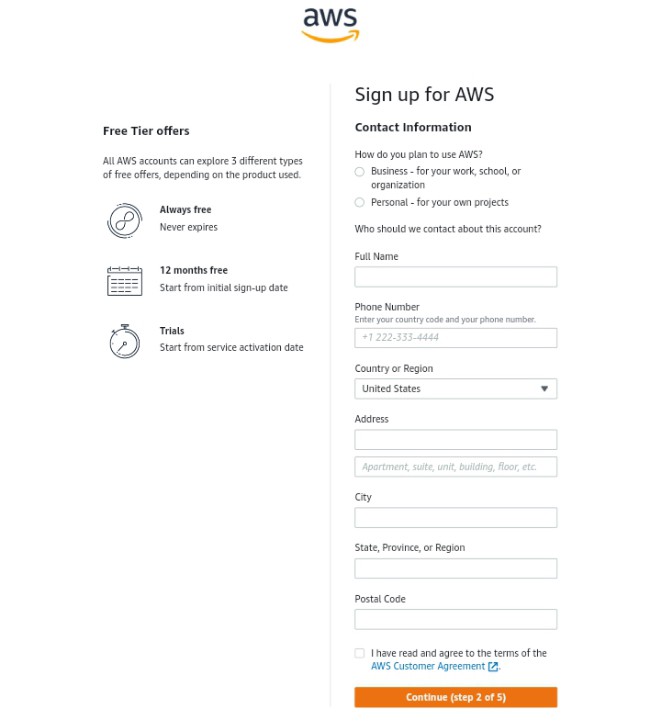
Step Two: Choose how you want to use AWS (in my case, it’s for personal use). Fill in your full name, phone number, Country, Address, city, state and postal code. Also, accept the Customer agreement and click continue once you’re done filling it.
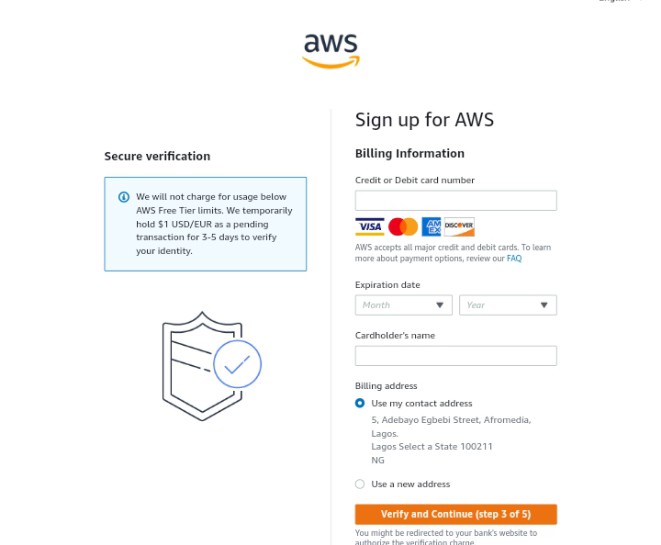
Step Three: The next step is to choose an account that has at least $1 in it so that AWS can use it for billing. You can also create a virtual card and have at least $1 in It. Don’t panic, your money will not be deducted but note that your registration will fail if you don’t have the amount there. Once you’re done, click continue.
Step Four: After you have filled in your card details, you will be required to fill in your phone number and a verification code will be sent to you.
Step Five: Input the code sent to your phone and click continue.
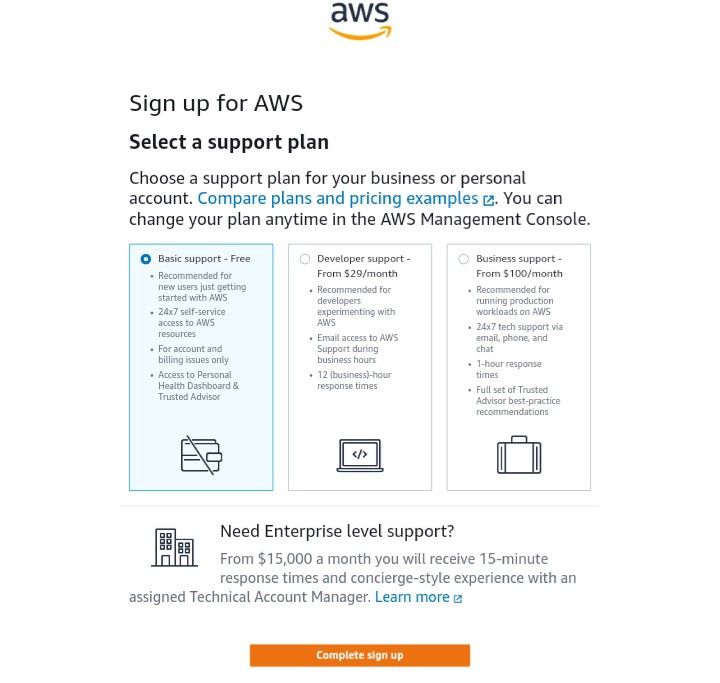
Step Six: Choose the type of support you need and click on complete sign up (for this article, I choose the basic support). After that, you get a congratulation message and then you can log in to your console.
Congratulations on creating your AWS account. Please kindly drop questions in the comment section if you have one. Also, corrections and additions are welcome. Thank you for reading my article and expect to hear from me soon. You can also follow me on Twitter https://www.twitter.com/ninyhorlah


